Router attachment for mini router |
Dce. 25/2016 I made router attachment for PROXXON mini router. Drawing |
 |
 |
|
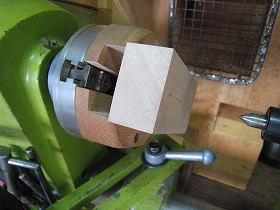
1.Making a slide parts. Material cherry wood. Cut to a width 50mm. |
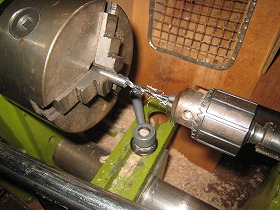
2.Attach the two-Jaw chuck attachment on bantam-chuck. How to make a Two-Jaw chuck |
|
 |
 |
|
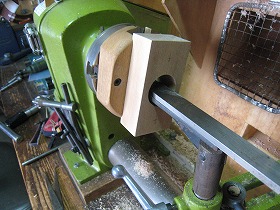
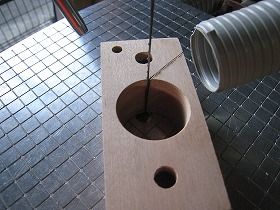
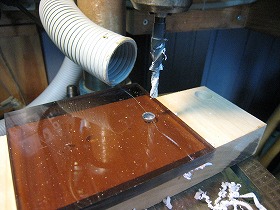
3.Drilling 30mm. |
4.Spread the hole diameter to 34.1mm in the square scraper. Using an L-shaped tool rest. |
|
 |
 |
|
5.Drilling 15mm, for slide bearing enters. Then penetrated the 10mm hole of passing through the 8mm of the guide rod. |
6.Drilling 6mm for the positioning rod. |
|
 |
 |
|
7.Drilling 7mm for the insert nut M5 type A. |
8.Drilling 7mm for the insert nut M4.Type C |
|
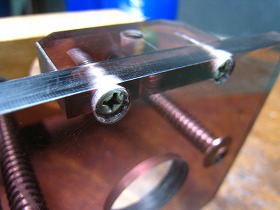
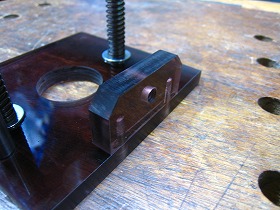
 |
 |
|
9.Cut the width to 47mm. |
10.Cut the slit of 0.7mm widh by the jig-saw machine. |
|
 |
 |
|
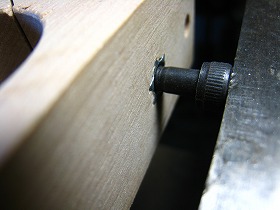
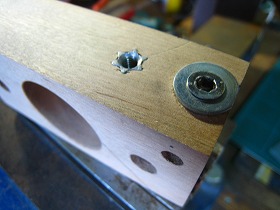
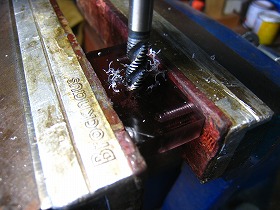
11.Insert a insert nut using a vise. |
12.The right side is a C-type insert nut M4. The left side is a A-type insert nut M5. |
|
 |
 |
|
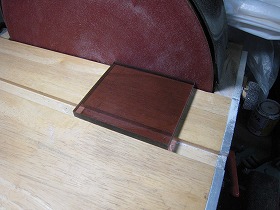
13.Make the base plate. Material is acrylic plate thickness 8mm. |
14.Polishing the edgge surface by disc sander. |
|
 |
 |
|
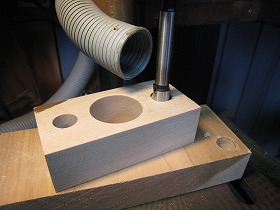
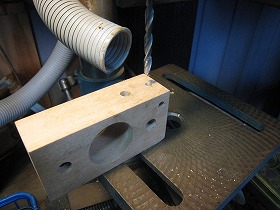
15.Drilling for the M5 hexagon socket head bolts. Useing a stepped drill of 4.5mm ~ 8mm. |
16.Drilling 30mm by forstner bit. |
|
 |
 |
|
17.Finished base plate and slide parts. Inserted a slide berring in the slide part. |
18.It is the part for attaching the straight guide. Drilling 3.3mm, and tapping M4. |
|
 |
 |
|
19.Tapping M6. |
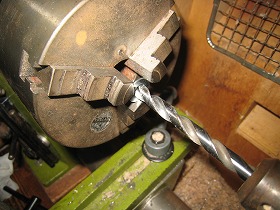
20.8mm slide rod parts. Put a dent in the center by the center drill. |
|
 |
 |
|
21.Tap drill hole 3.3mm. |
22.Tapping M4. |
|
 |
 |
|
23.Make a washer to put on a slide rod ends. Drilling the 8mm to washer for for M6 bolts. |
24.This is Long nut used for height adjustment of the positioning rod. Dorilling the 3.3mm pilot hole to rod of diameter of 8mm length 25mm, and then tapping M4. |
|
 |
 |
|
25.Make round bis. It's bis for fixing straight guide to mounting seat. Grinding the head of the screw to the 6mm diameter. |
26.Fixing seat to the base plate, and attached with an 8mm guide rod. |
|
 |
 |
|
27.Top view. |
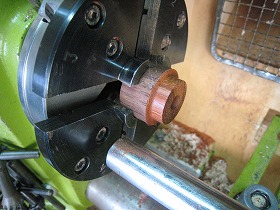
28.Make the collar of the height adjustment. The material rosewood. |
|
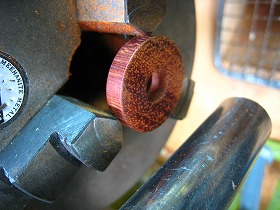 |
 |
|
29.Turning to a thickness of 4mm. |
30.Drilling 5mm with a set collar. and prevent slip of wood collar by inserting a pin in the first hole. |
|
 |
 |
|
31.Make nut for attaching the grip ball. Tapping M6. This material is rosewood of 10mm diameter. |
32.Begin the assembly.Spring portion and the stopper portion. |
|
 |
 |
|
33. Lock portion for positioning. |
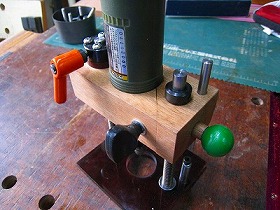
34.Retained collar portion, and the knob portion for mini router tightening. |
|
 |
||
Attached the linear guide of Hitachi trimmer M6. |
||
 |
||
This router attachment is great. I think that is an important jig in my tool. |
||