Home made 125mm table saw |
May. 6/2017 I made table saw for acrylic board and thin wood bord.Drawing |
 |
 |
|
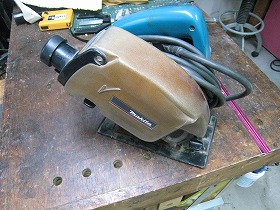
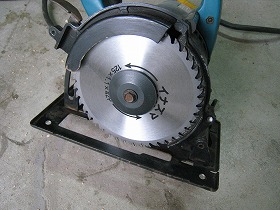
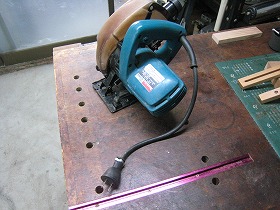
1.I Used model 5025-KB of the MAKITA. |
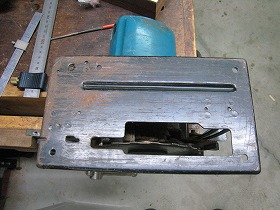
2.It's a base plate. |
|
 |
 |
|
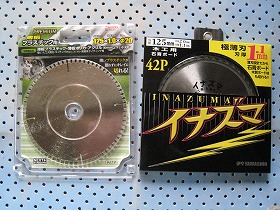
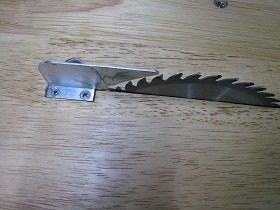
3.Replacement blade. Chip-saw 125* 1.0 on on the left side for plastic. Right side chip-saw 125*1.1 for the woodworking. |
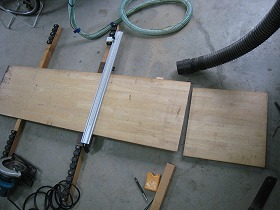
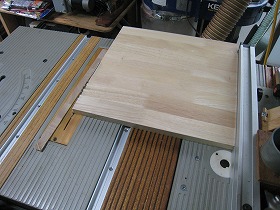
4.The material is Laminated rubber wood. |
|
 |
 |
|
5.Cutting by table-saw. |
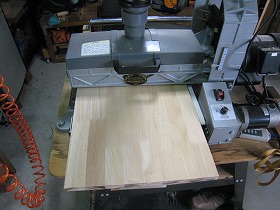
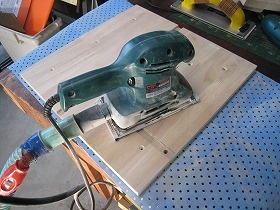
6.Sanding by roll sander. |
|
 |
 |
|
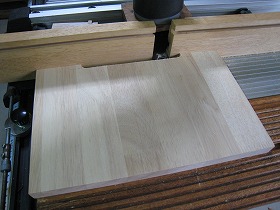
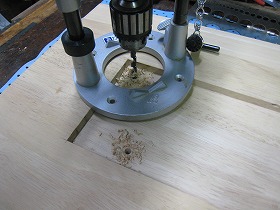
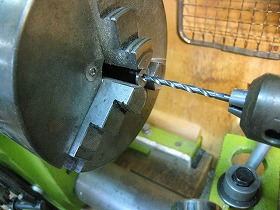
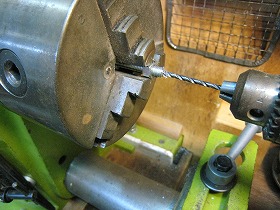
7.Process parts of the legs. The bit is 19 mm. |
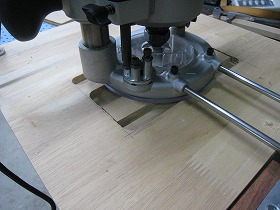
8.Make hollow 10mm into the back side of the table top plate for the circular saw. The bit is 19 mm |
|
 |
 |
|
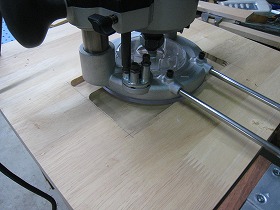
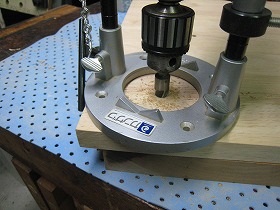
9.When the flange part of the router is about to deviate into the hollow, let's put the 10 mm thick wood plate. |
10.Cut the horizontal sides. |
|
 |
 |
|
11.Cut the corners at the right angles by chisel. |
12.Drilling 6mm. |
|
 |
 |
|
13.Counterbore for countersunk screws. |
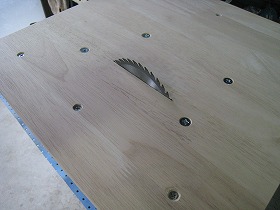
14.Mount a 1.1 mm thick chip-saw for make a slit. |
|
 |
 |
|
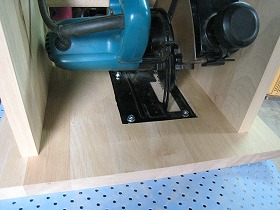
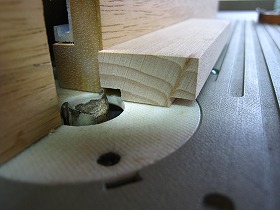
15.Attach a circular saw with flat head screws M6. |
16.Push the circular saw while rotating. |
|
 |
 |
|
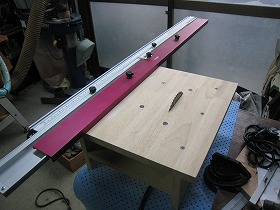
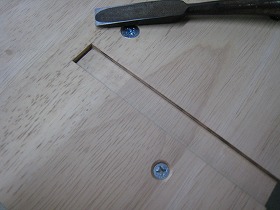
17.Prepare grooving for miter gauges. Marking the reference line parallel to the circular saw. |
18.Setting the adjustable fence of the OTORO. |
|
 |
 |
|
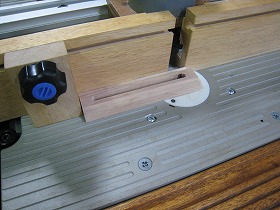
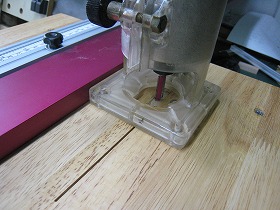
19.Cutting a 15.8 mm slot with a 12 mm bit. |
20.Dig the slot for the stopper. The bit is 16mm. |
|
 |
 |
|
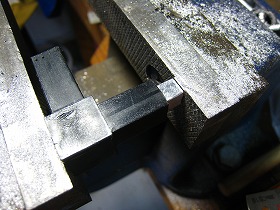
21.Cut the corners at the right angles by chisel. |
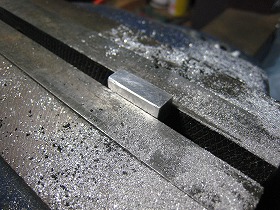
22.Stopper. The material is beech. Making steps to 3 mm. |
|
 |
 |
|
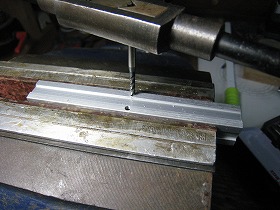
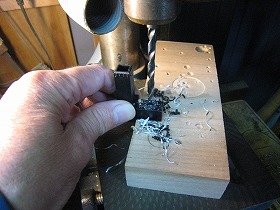
23.Make a slot with 6 mm bits. |
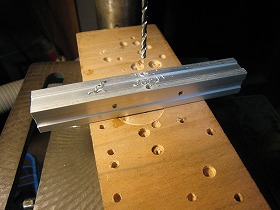
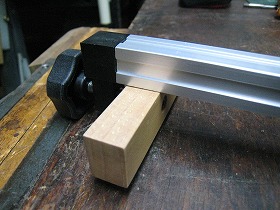
24.It's a part of lip fence of 16 mm aluminum frame. Drilling 2.5mm for M3 tap. |
|
 |
 |
|
25. M3 tap. |
26.This bar is Y axis of lip fence. Drilling 3mm. |
|
 |
 |
|
27.This is the push plate of the tightens fence. The material is beech. Drilling 10 mm of spot faceing. |
28.Making a washer. Size 10 mm OD, 3mmID, 1.5mm thick. |
|
 |
 |
|
29.Drilling a 2.5mm pilot hole of M3 tap on the fence tightening screw. |
30.This is a resin joint for the frame. Cut one side to 36 mm in length. |
|
 |
 |
|
31.This is a square rod of aluminum to be inserted into the cut resin joint. It is 7.5 mm square. |
32.Insert the aluminum square rod into the joint. |
|
 |
 |
|
33.Drilling a 5mm pilot hole of M6 tap. |
34.Tapping M6. |
|
 |
 |
|
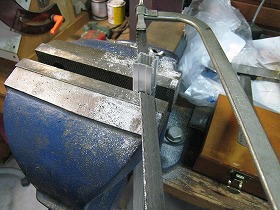
35.Cut the frame on the Y axis side of the lip fence according to the drawing. |
36.Insert the resin joint into the Y axis frame using clamp. |
|
 |
 |
|
37.The T bar part of the lip fence. |
38.The tightening-part of lip fence. |
|
 |
 |
|
39.Sanding. |
40.Oil finish. |
|
 |
 |
|
41.Making a splitter.Material is aluminum.Drawing |
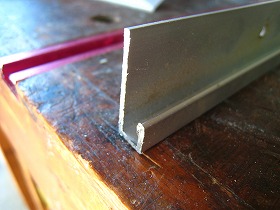
42.Cut the aluminum into an L shape. |
|
 |
 |
|
43.Paste the drawing with spray glue. |
44.Cut along the paper pattern. And make a counterbore. |
|
 |
 |
|
45.Cut a 8 mm slot. |
46.Install on the table top. |
|
 |
 |
|
47.Cutting the circular saw cord short and attach the plug. |
48.Secure the cord with bracket. |
|
 |
 |
|
49.Outlet and tumbler switch. |
50.Here is a stopper and a spanner space. Embed a 6 mm neodymium magnet in the spanner area.Please put the mouse on the picture. |
|
 |
 |
|
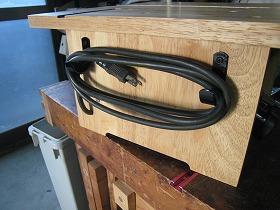
51.Code storage of the right side board. |
52.Replacement blade storage on the left side plate. |
|
 |
||
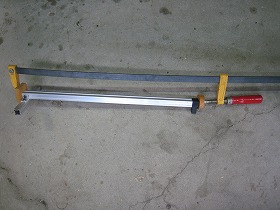
Overall picture. |
||
 |
||
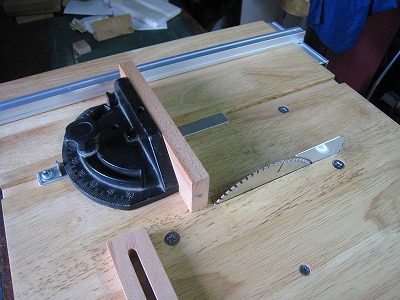
Miter gauge part. |
||
 |
||
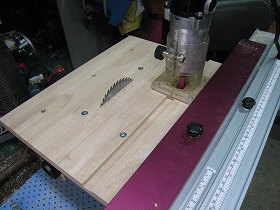
Circular saw part. |
||
 |
||
Diamond-coated blade edge for plastic cutter. |
||
YouTube of cutting the acrylic board. |
||