Sheath of billhook |
Dec. 04/2018 I made a Sheath of billhook. |
 |
 |
|
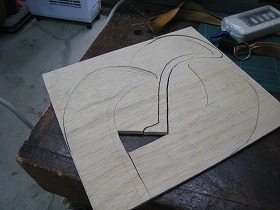
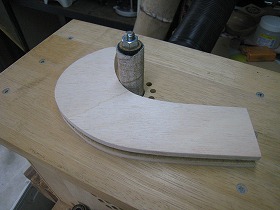
1.Material is 4 mm thick plywood. Put the billhook on the paper and marking it outline. |
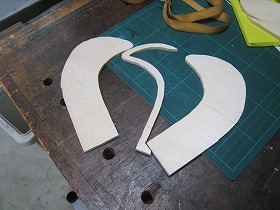
2.Cutting with yarn fret saw. Two sheaths and one core one. |
|
 |
 |
|
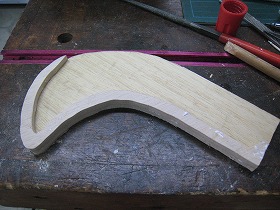
3.Grind the core with the spindle sander. |
4.Bonding the core and one side sheath. |
|
 |
 |
|
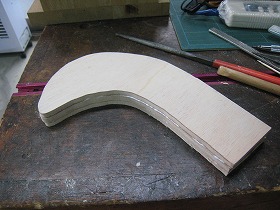
5.Next, bond the remaining sheath to one side. |
6.Grind protrusions of outside with disc sander. |
|
 |
 |
|
7.Grind the recess of insid with the spindle sander. |
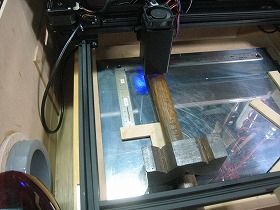
8.Engrave my name on the handle with a laser machine. |
|
 |
 |
|
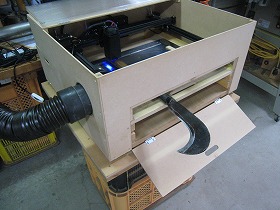
9.Although all of the handle does not enter the enclosure, there is no problem. |
10.Width 12 mm,Height 19 mm. |
|
 |
 |
|
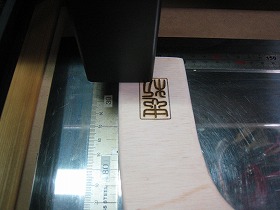
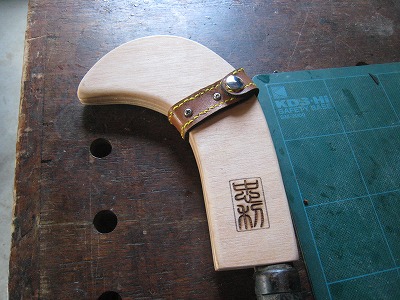
11.Engrave your my name on the sheath. |
12.Width 20 mm,Height 32 mm.This is an ancient Japanese character and reads as "Tadatoshi". |
|
 |
||
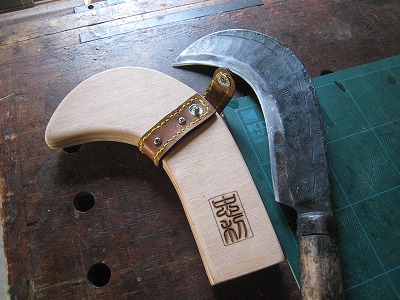
Before inserting the blade. The belt is leather with a thickness of 2.5 mm. Fix the band with wood screws to the sheath. |
||
 |
||
By stopping the jumper hook of the belt, the blade can not come out of the sheath. The yellow border on the decorations became zigzag. It was not appropriate to perforations. |
||
 |
||
It seems to be able to store the cutting edge safely. |
||