Leather stitch hole press |
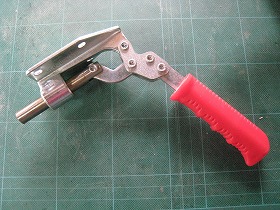
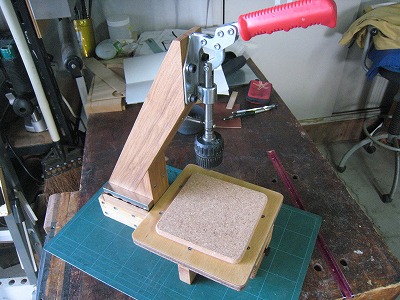
Jun. 16/2019 I made a leather stitch hole press using a commercial toggle clamp.Drawing |
 |
 |
|
1.The toggle clamp was 1,367 yen in amazon. |
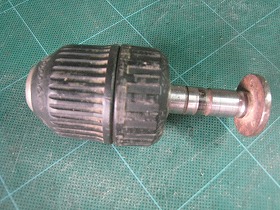
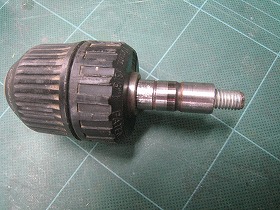
2.This is a chuck attached to the tip of the clamp. It's junk. |
|
 |
 |
|
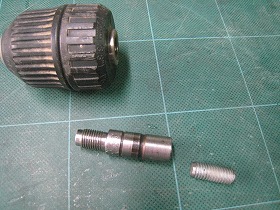
3.The chuck body and the shaft are connected by fine threads. |
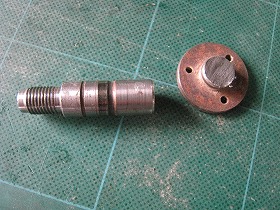
4.Cut the flange part. |
|
 |
 |
|
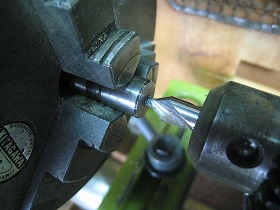
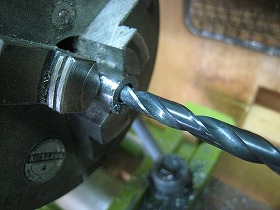
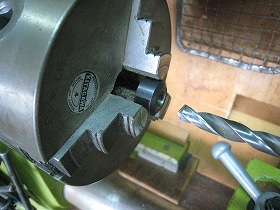
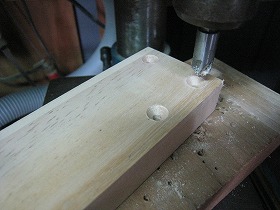
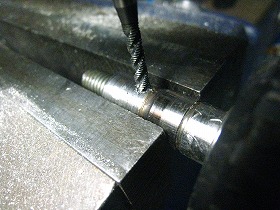
5.Marking the end face of the cut shaft with a center drill. |
6.Drilling 5mm for M8 tap. |
|
 |
 |
|
7.Tap M8. |
8.Chuck and tapped shaft and M8 long screw. |
|
 |
 |
|
9.Assembly. The long screw was fixed with instant adhesive. |
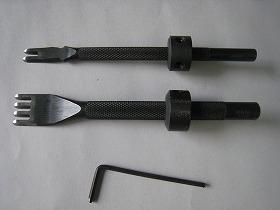
10.This is a shaft collar. The shaft of stitching chisel is knurled. Drilling 8.5 mm because it can not be inserted in the 8mm hole. |
|
 |
 |
|
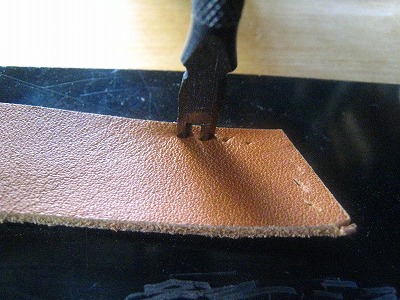
11.Attach the shaft collar to the stitching chisel. The collar keeps the height of the stitching chisel constant. |
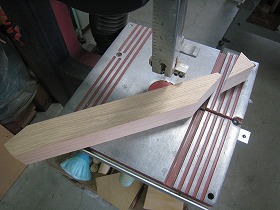
12.Use japanese ash for the center pole to attach the toggle clamp. Cut to 50 mm square with a table saw. |
|
 |
 |
|
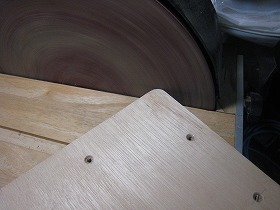
13.Cut off the 30 degree ramp with a band saw. |
14.Sanding the cut surface with disc sander. |
|
 |
 |
|
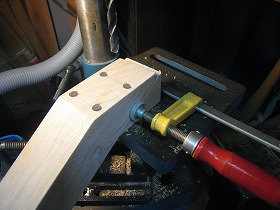
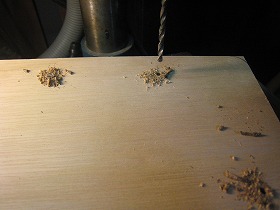
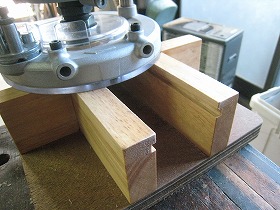
15.Clamp a 30-degree inclined dumping material cut with a band saw to the tower. |
16.Put on the drilling machine in this condition.Then, Drilling can be made perpendicular to the cut surface. |
|
 |
 |
|
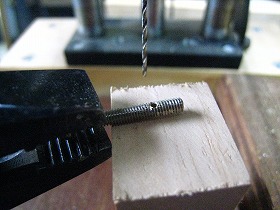
17.Insert M6 insert nutinto the the senter pole. |
18.Drilling and countersinking for coarse thread to fix leg. |
|
 |
 |
|
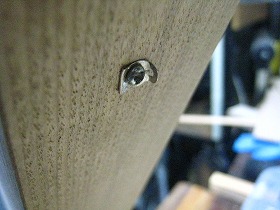
19.The table is plywood of 18 mm thickness. |
20.Countersinking for coarse thread. |
|
 |
 |
|
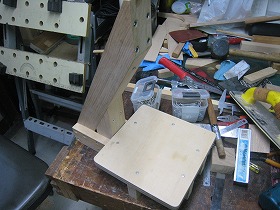
21.Rounding of corners with a disc sander. |
22.Temporarily clamp and adjust so that the table and toggle clamp mounting surface are at right angles. |
|
 |
 |
|
23.Install the toggle clamp and chuck and check the right angle just in case. I'm worried that there is a slight play. |
24.Attach a stay to the side of the center pole to prevent deflection. |
|
 |
 |
|
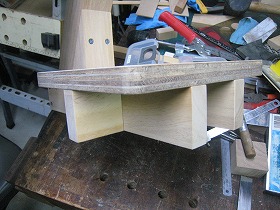
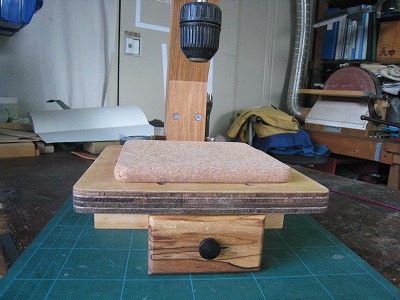
25.Completed frame assembly. |
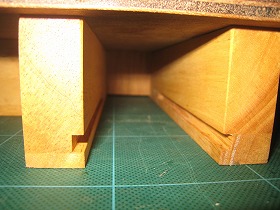
26.Put a stay on the lower sides of the table. |
|
 |
 |
|
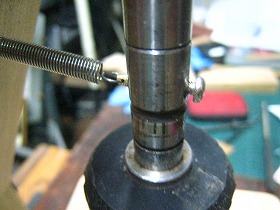
27.As there is a little rattle on the drill chuck, pull it lightly with the spring toward the center pole. First of all, drill a 2.5 mm pilot hole for the M3 tap on the chuck shaft. |
28.Tap M3. |
|
 |
 |
|
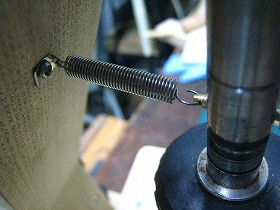
29.Drill a 0.5 mm hole in the M3 screw that screws into the shaft. Hang a spring in this hole. |
30.Spring hook fitting on the pole side. This is made by an earth lug for a printed circuit board. |
|
 |
 |
|
31.With the spring attached. |
32.Part of the screw. |
|
 |
||
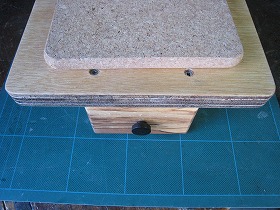
33.I finished with sesame oil, but I wanted to make a drawer under the table. |
||
 |
 |
|
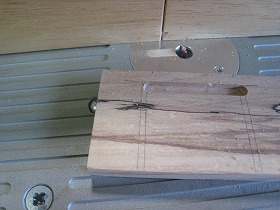
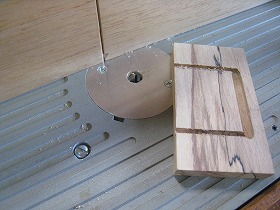
34.I glued the pole, so I turned it over and cut the drawer groove. |
35.In such a case, the template guide is useful. |
|
 |
 |
|
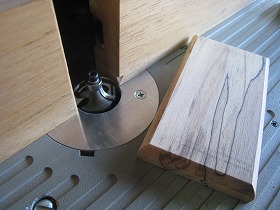
36.Set the template guide and bits on the router. |
37.Groove cutting completed. |
|
 |
 |
|
38.6 mm wide groove. |
39.The front plate of the drawer is a spalted of horse chestnut. Polished with a drum sander. |
|
 |
 |
|
40.The bottom plate is 5.5mm thick plywood and the side plate is 2.5mm thick MDF. |
41.Cut a 6 mm wide groove to the bottom plate. |
|
 |
 |
|
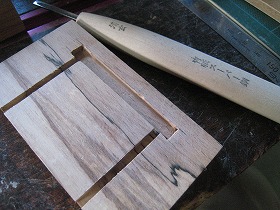
42.Next, cut a groove of 3 mm width. A side plate enters here. |
43.Use a chisel to finish the corner. |
|
 |
 |
|
44.Chamfering around the front plate. |
45.The knob is ebony. |
|
 |
 |
|
46.Drilling 8mm to put the knob. |
47.Bond each parts. |
|
 |
 |
|
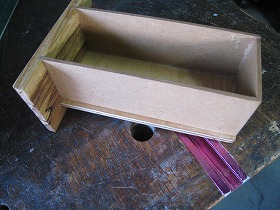
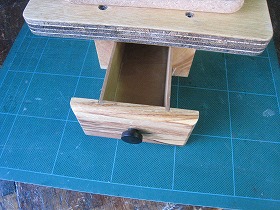
48.Front of the drawer. |
49.It's a bit small, but it seems to be able to store hooks etc. |
|
 |
 |
|
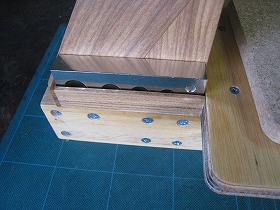
50.It can store stitch hole and a wrench on the right side of the frame. |
51.The left side is also able to store the striker. |
|
 |
||
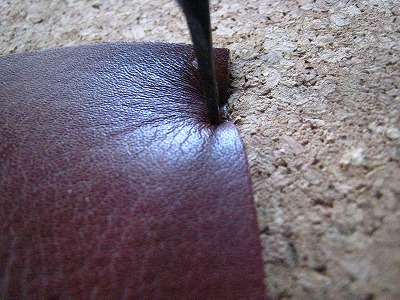
I a good feeling. |
||
 |
||
 |
||
The 12 mm thick cork board seems to be soft. |
||
 |
||
6 mm thick hard urethane. This is too soft and the leather sinks. |
||
 |
||
10mm thick special rubber sheet bought by Tokyu Hands. This is a seat only for stitch holes. |
||