Shaving horse |
Apr. 19/2020 I made this tiny foldable shaving horse. This as light and compact as possible. And this horse can be equipped with a spoon mule.Drawing |
 |
 |
|
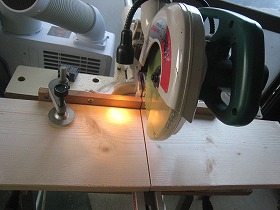
1.The material is only two-by-material. First, cut 1 * 8 with a slide saw. |
2.Cut the upper and lower parts of the rear leg at 65 degrees. |
|
 |
 |
|
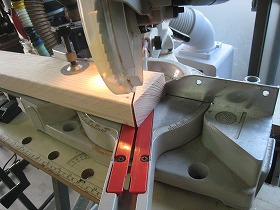
3.Adjust the angle of the saw blade using the cut piece. |
4.In this state, cut the lower part of the front leg. and as for the front and rear legs can be cut at the same angle. |
|
 |
 |
|
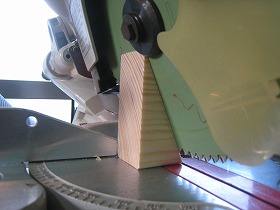
5.Also cut the front leg stopper in this state. |
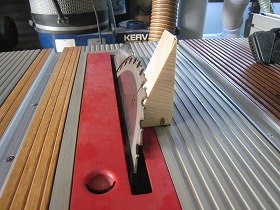
6.The rear leg stopper is longer than the front, so cut it with a table saw. Use a piece to adjust the blade angle to 65 degrees. |
|
 |
 |
|
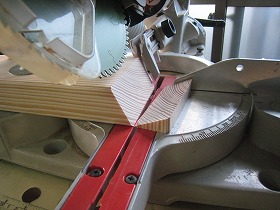
7.Cut the rear leg stopper. |
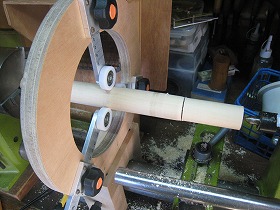
8.Use Japanese ash to make pivots for the front and rear legs and swing arms.If use a stabilizer, It can cut from a long rod, so it is efficient. |
|
 |
 |
|
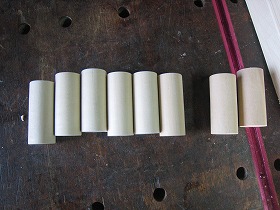
9.Length 66mm * diameter 28mm is 6 pieces, diameter 30mm is 2 pieces. |
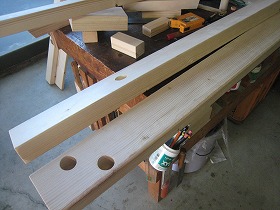
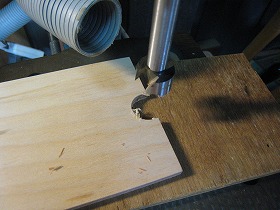
10.Drilling a 28mm in the front leg with a Forstner bit. |
|
 |
 |
|
11.Sharpen round front leg tip with a home-made disc sander. |
12.Drilling a 28mm in the body frame. |
|
 |
 |
|
13.Body frame and swing arm after drilling. |
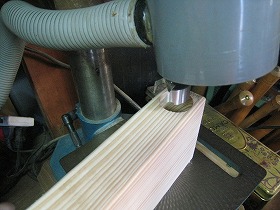
14.Drill a 30mm hole in the rear leg. The end of the workpiece is pushed up with a desktop mini-lift so that the drilling table and the workpiece are horizontal. |
|
 |
 |
|
15.When using a fosner bit, use a dust collection ring. There is no scattering of cutting powder. |
16.Temporarily assemble the front legs and make sure they move smoothly. |
|
 |
 |
|
17.Temporarily assemble the back legs too, and make sure they move smoothly. |
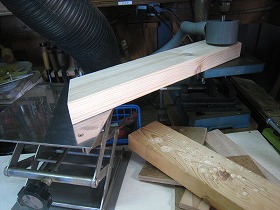
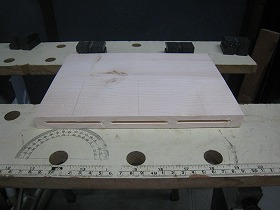
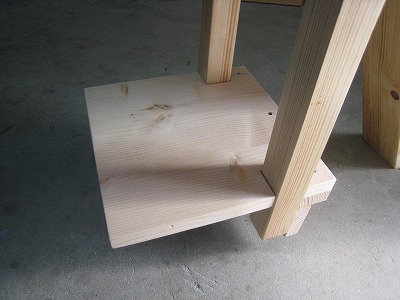
18.This is a table on which work is placed. Cut the tip into a taper. |
|
 |
 |
|
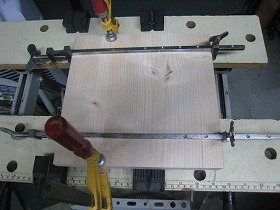
19.Even if the treadle is 2 ~ 8, the width is not enough, so please use 3 biscuits # 20. |
20.Adhere with wood bond. |
|
 |
 |
|
21.Cut the part of the step board where the swing arm enters with a fret saw. |
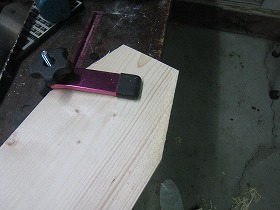
22.Sharpen the corner of the seat to round R10mm with a disc sander. |
|
 |
 |
|
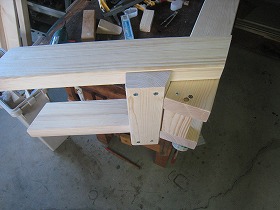
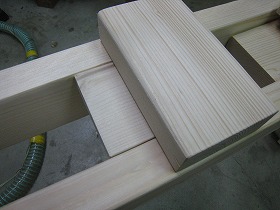
23.This is an angle adjustment spacer that is sandwiched between the main body frame and the upper and lower arms of the work table. |
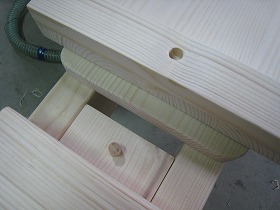
24.The board at the bottom of the spacer is embedded with a pin that prevents the step plate from being misaligned. The hole on the step board is shown on the right. Turn the step board over and insert it into the pins when storing. |
|
 |
 |
|
25.The 2 * 2 rod on the left is a work table angle adjustment spacer, which has two pins embedded at both ends. Insert it into the hole of the arm angle adjustment spacer when storing. |
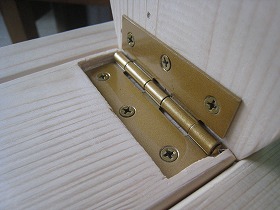
26.The hinge part at the tip of the work table. Embed the hinge in the lower 2 * 2 board. |
|
 |
 |
|
27.Insert the step board into the swingarm. It fix more firmly when gap of board little tighter . |
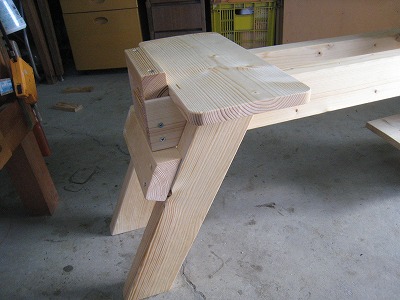
28.Insert angle adjustment bars above and below the arm of the work table. That so it can freely adjust the angle. |
|
 |
 |
|
29.Insert the seat so that it touches the protrusion on the rear edge of the main frame. |
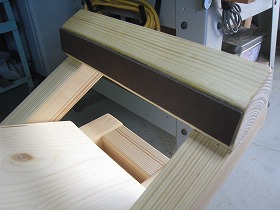
30.Attach the 3mm thick leather to the jaws that sandwich the workpiece for protection. |
|
 |
 |
|
31.The L-shaped tray in the center of the main frame is for placing knives. Make an 10mm semi-circle hole at the bottom to keep the cutting powder from collecting. |
32.Glue it to the main frame to complete the knife tray. |
|
 |
 |
|
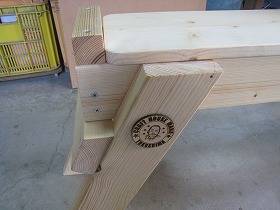
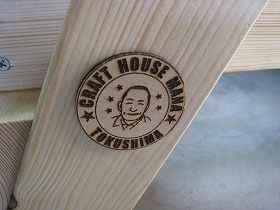
33.Attach the brand mark on the side of the rear leg. |
34.This mark is a 2.5mm MDF plate on engraved and cut out with a laser machine. |
|
 |
||
Finished with Watco oil. There is a space in the center so I can attach a spoon mule here. Next time, I will introduce the making of a spoon mule that can be easily installed. |
||
 |
||
It will be so small when folded. Spoon mule can also be put on this. |
||