Band saw blade polishing jig |
Oct. 25/2020 If you continue to use the band saw blade with its sharpness reduced, it will suddenly cut one day. The sound and impact at that time are tremendous, so blade maintenance is important. However, since it has a large number of teeth, it takes time by hand and it is difficult to sharpen it accurately. Therefore, I made a polishing jig using a micro router.Drawing-1,Drawing-2 |
 |
 |
|
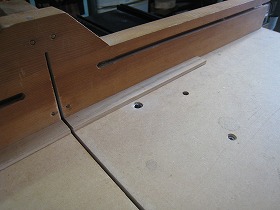
1.Use 18mm thick plywood for the swing plate bracket. |
2.This is a positioning guide bar attached to the bottom of the main unit. |
|
 |
 |
|
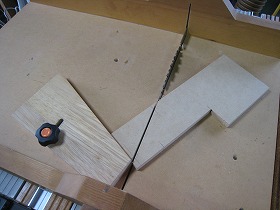
3.The triangular stay is 12mm MDF. |
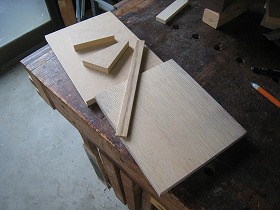
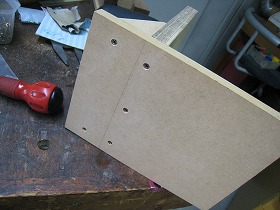
4.Parts before assembly. |
|
 |
 |
|
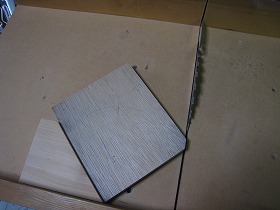
5.It can be easily cut by using a jig that has been cut at 45 degrees for chamfering. |
6.Drilling at both ends of a 6 mm wide slit. |
|
 |
 |
|
7.Drilling 3.4 mm for wood screws to attach stays,. |
8.Make chamfer. |
|
 |
 |
|
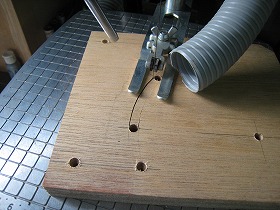
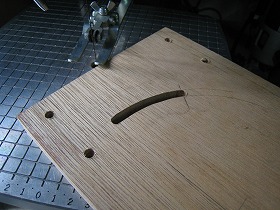
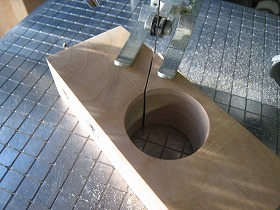
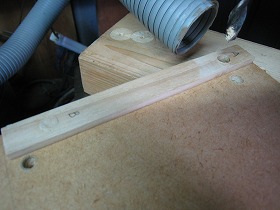
9.Cut through the long hole with a scroll saw. |
10.If you use a blade without clams, the cross section is beautiful and there is no need for sandpaper finishing. |
|
 |
 |
|
11.Drilling 7.5 mm for mounting M6 T-nuts. |
12.Drilling 3.3 mm for fixing wood screws in the MDF base plate. |
|
 |
 |
|
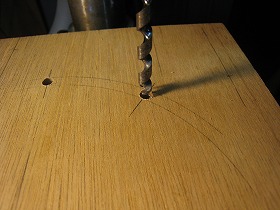
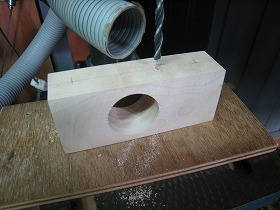
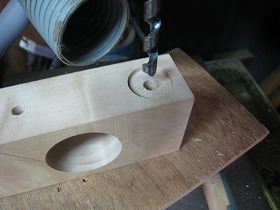
13.Mark the turning position and size on the parts that fix and swing the micro router. |
14.First, make a hole with a 30mm forstner bit. |
|
 |
 |
|
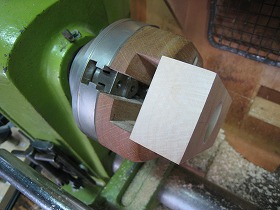
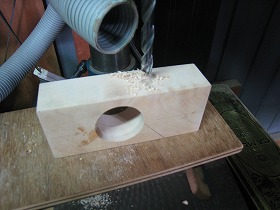
15.The work is gripped by a homemade two-jaw chuck. It's a convenient jaw for making eccentric holes, so it's one of the parts I want everyone to try. Make a Two-jaw chuck |
16.Turning it with a bite handmade from concrete nails. |
|
 |
 |
|
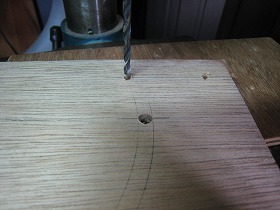
17.Drilling 5mm for micro router tightening screws |
18.Drilling a pilot hole of 7.4 mm for M5 insert nut. |
|
 |
 |
|
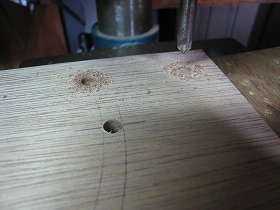
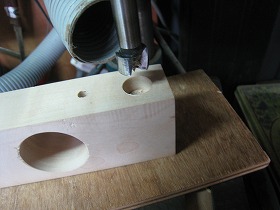
19.Make a 15mm counterbore for the CAP bolt that will be the swing fulcrum of the arm. |
20.Drilling 6mm. |
|
 |
 |
|
21.Make a 20mm counterbore for M6 T- nuts. |
22.Drilling 6mm. |
|
 |
 |
|
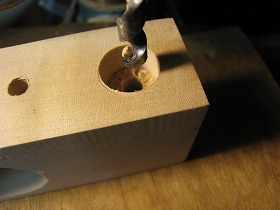
23.Push in the M5 insert nut with a vise. |
24.Make a slit for tightening the micro router with a scroll saw. |
|
 |
 |
|
25.Use 3.3*25L wood screws for assembly. |
26.Cut the groove for the band saw blade. |
|
 |
 |
|
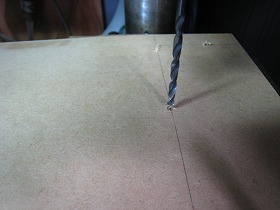
27.Drilling the guide plate together with the bottom plate so that the position does not shift. |
28.Insert a 10mm round bar into the hole and glue only the guide side. |
|
 |
 |
|
29.Make a hole on the other side with the round bar on one side inserted. |
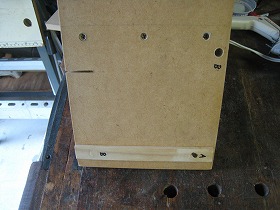
30.Guide plate and bottom of the body. |
|
 |
 |
|
31.Guide position when polishing the upper blade. |
32.Guide position when polishing the back blade. |
|
 |
||
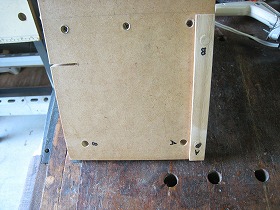
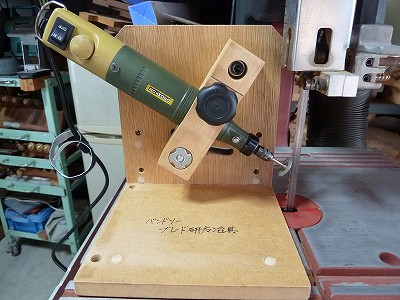
The back side of the assembled polishing jig. |
||
 |
||
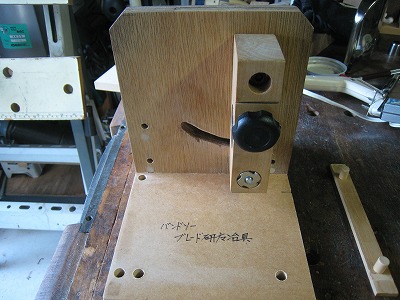
The front side. |
||
 |
||
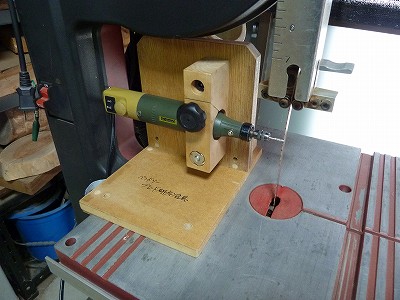
A state in which the micro router is attached to the band saw, and the upper blade is polished position. |
||
 |
||
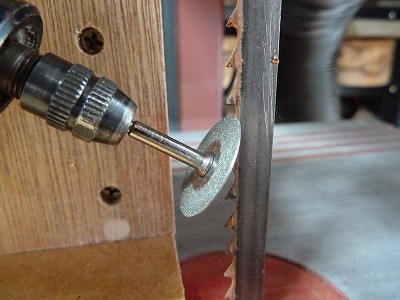
The bit is a 20mm diamond cutter. |
||
 |
||
When polishing the back blade, replace the guide plate and rotate the jig 90 degrees. |
||
 |
||
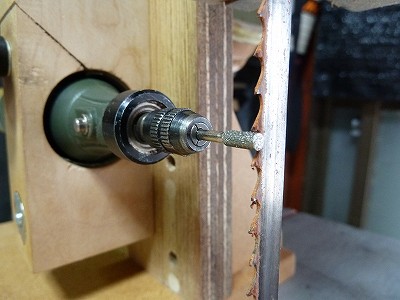
Attached the 3 mm diamond bit. |
||
 |
||
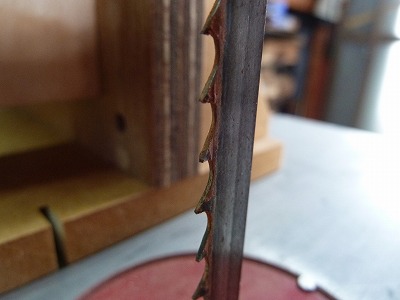
Is blade before polishing. |
||
 |
||
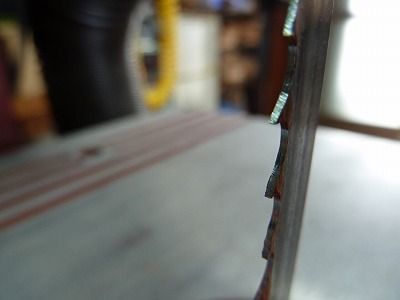
Is blade after polishing. |
||