Hand made Kerfmaker and Guide bar |
Dec. 27/2020 Cross-phase notched joints are commonly used to make coasters. Although it is a simple joint, it is difficult to cut a groove with the same width as the work. Therefore, a jig called KERFMAKER is sold overseas.I made my own by arranging a simple structure with reference to commercial products.Drawing |
 |
 |
|
1.The materials are Japanese ash and rosewood. The main body is rosewood, and the slide part and L-shaped parts are Japanese ash. |
2.Cut 25mm thick Japanese ash and rosewood to 26.5mm width. |
|
 |
 |
|
3.Grooving with a width of 12 mm and a depth of 6 mm. One side is thick, but this part was cut later to adjust the thickness to 20 mm. |
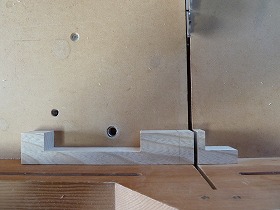
4.Mark the notch line in Japanese ash. The left part is the slide part, and the right L-shaped part is the on the drawing lower right part. |
|
 |
 |
|
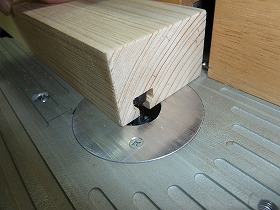
5.Put in a waste board between the crosscut sled and the work and cut out the end part. The thickness of the blade is 2.5 mm, so reciprocate 10 times. |
6.Cut out the central part as well.This is 82mm long, so 33 reciprocate times.I want a DADO blade in such a case. |
|
 |
 |
|
7.Separate the L-shaped parts. |
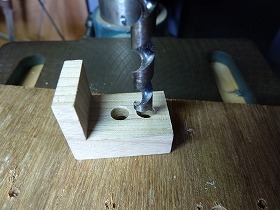
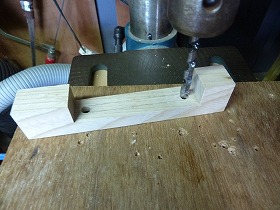
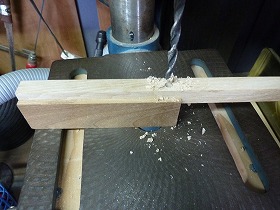
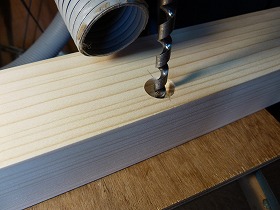
8.Drilling 6 mm at both ends of the long holes of the L-shaped parts. |
|
 |
 |
|
9.Drilling a 6mm hole in the slide part as well. |
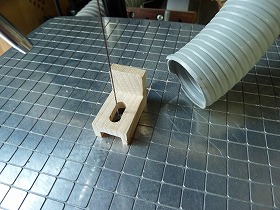
10.Make a long hole with a scroll saw. |
|
 |
 |
|
11.Make slide parts with a scroll saw as well. |
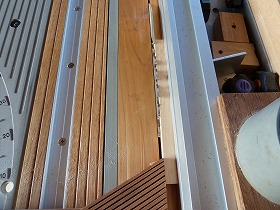
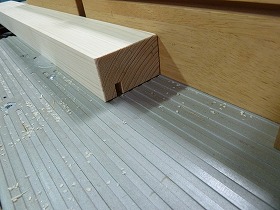
12.This is a guide rail that fix to the main body. Cut the Japanese ash into 12mm squares. |
|
 |
 |
|
13.Glue the guide rail to the groove of the main body. |
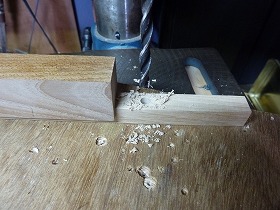
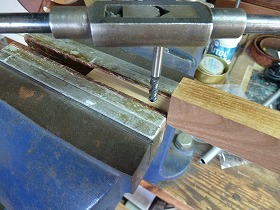
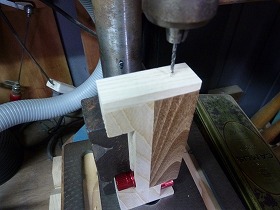
14.Drilling 5 mm of tap pilot hole for screwing in stud bolts that fix L-shaped parts. |
|
 |
 |
|
15.Similarly, Drilling 5mm of tap pilot hole for fixing slide parts. |
16.Tapping M5. |
|
 |
 |
|
17.Tapping M5. |
18.Make stud bolts by cutting M6 long screws to a length of 18 mm. |
|
 |
 |
|
19.Attach the slide parts and L-shaped parts to the main body. Then cut the unnecessary part of the guide rail. |
20.Cut so that the other side is also flush. |
|
 |
 |
|
21.This is a Japanese ash with a width of 20 mm and a thickness of 6 mm that serves as a stopper to be attached to the main body. Cut this to a length of 53 mm. |
22.Glue the stopper to the body. And Drilling 2mm of pilot hole for screws. |
|
 |
 |
|
23.Drilling 3.3 mm in the stopper. |
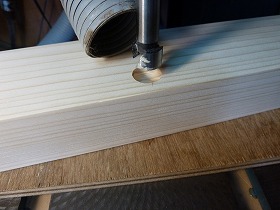
24.Counterbore. |
|
 |
 |
|
25.Screw it down. |
26.The Kerfmaker is complete. |
|
 |
 |
|
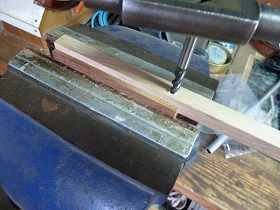
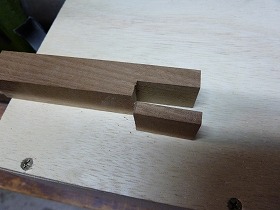
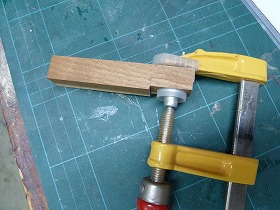
27.Next, make a jig that offsets the L-shaped parts of Kerfmaker by the thickness of the blade. First, make a cut in a 20 mm square rosewood stick. |
28.Cut the thinner one. |
|
 |
 |
|
29.Glue the cut part to the other side. |
30.This step has the same dimensions as the thick of the blade. |
|
 |
||
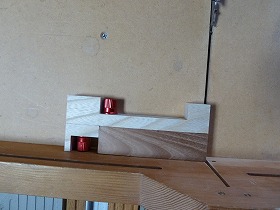
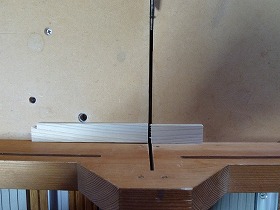
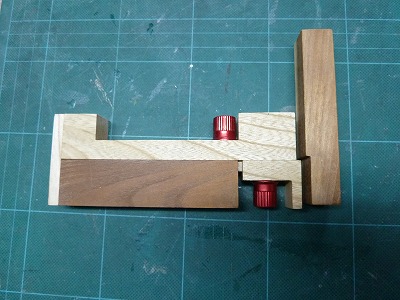
Kerfmaker and offset jig. |
||
 |
||
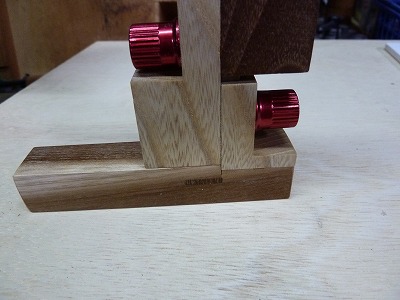
Place the Kerfmaker on the offset jig and slide the L-shaped parts along the steps. |
||
 |
||
Then, the length of the L-shaped protrusion becomes the thickness of the blade. |
||
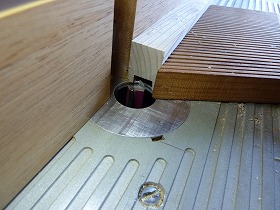
Next, Make a guide bar for safe use of Kerfmaker with crosscut sled.The cross-cut sled is designed so that the fence does not pass through the center of the blade, so if it is left as it is, the groove cut in the workpieces will not be horizontal. So decided to use this guide between cross-cut sled and kerfmaker. In addition, the guide bar has a structure that can be moved from the fence so that it can handle long work.Drawing |
||
 |
 |
|
34.Planer on both sides of the two-by-four and cut off both side. It's width of 60 mm. |
35.For T-groove processing, first cut a groove with a depth of 12 mm with a 1/4 "straight bit. |
|
 |
 |
|
36.It is safer to attach a stopper to the fence for positioning. |
37.Cut into a T shape with a bit with a 1/2"* length 7 mm. |
|
 |
 |
|
38.Counterbore for CAP screw, diameter 12 mm, depth 10 mm. |
39.Drilling a 6mm through hole. |
|
 |
 |
|
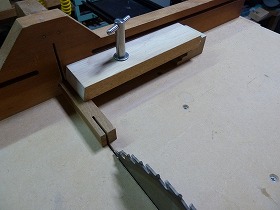
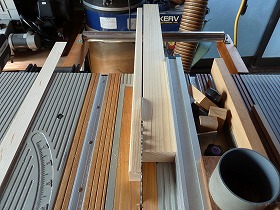
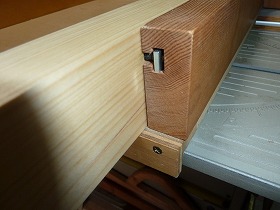
40.Attach a square nut to the CAP screw and insert it into the fence groove of the cross-cut sled. |
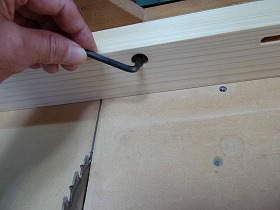
41.By tightening the CAP bolt, it can be fixed at any position on the fence. |
|
 |
||
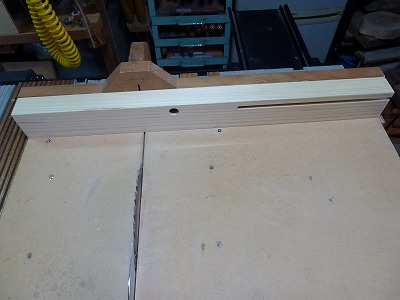
Align the guides on both ends of the cross-cut sled.In this case, the maximum workpiece length is about 200mm. |
||
 |
||
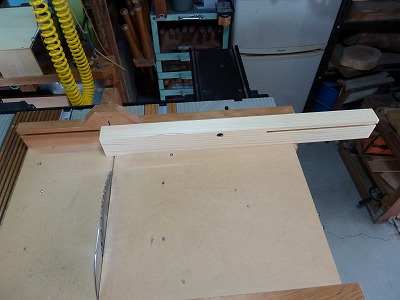
Slide the guide bar to the right and stop it so that the guide bar does not come off the blade.The maximum workpiece length is about 380mm. |
||
 |
||
Attach the adjustable stopper to the guide bar and arrange the Kerfmaker and the workpiece in that order.How to use |
||