Pocket hole jig-2 |
Mar. 7/2021 I made an attachment for the pocket hole jig I made last time. This is used when joining large wooden boards.Drawing |
 |
 |
|
1.The material is laminated wood of rubber tree wood. |
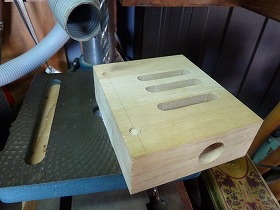
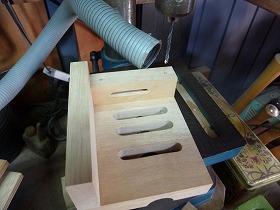
2.Cutted out workpiece. |
|
 |
 |
|
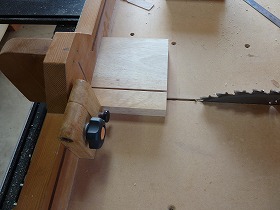
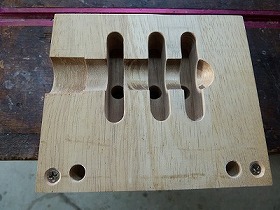
3.Drilling 10mm on both ends of the slot. |
4.Cut with a scroll saw. |
|
 |
 |
|
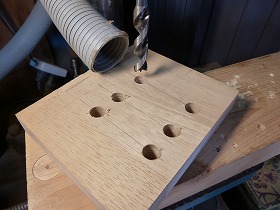
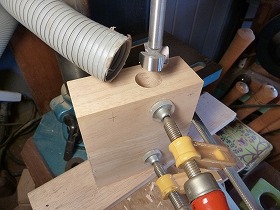
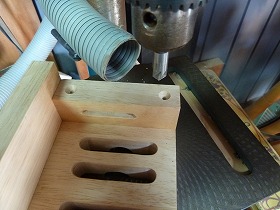
5.Drilling 22mm to insert the PVC fitting of the dust port. A hole will be made in the board and the center of the board, so fix it firmly with a clamp. |
6.Make a dowel pin holes. It's removed the clamp because It put a dowel pin in one of the holes, but when it drilling a hole in the this side, fix it with a clamp. |
|
 |
 |
|
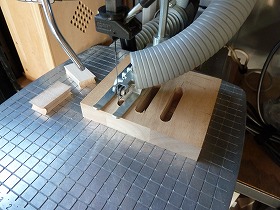
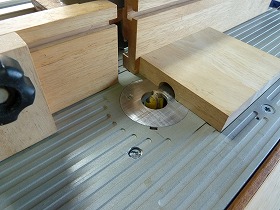
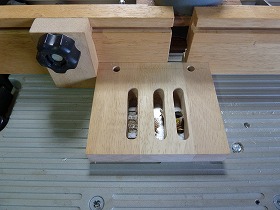
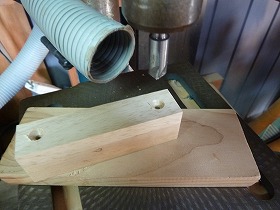
7.Cut a groove to the lid side with a 19 mm spherical bit. |
8.Similarly, make a groove to the main body. |
|
 |
 |
|
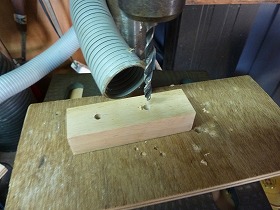
9.This is a member that serves as a side support for the drill guide. Drilling 5 mm on both ends of the slot. |
10.Cut with a scroll saw. A thumbscrew is inserted in this slot. |
|
 |
 |
|
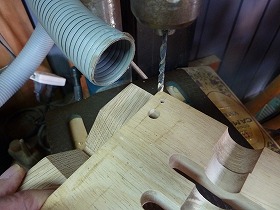
11.After temporarily adhering the members, drill a 3.4 mm hole for fixing the side support. |
12.Counterbore for countersunk screws. |
|
 |
 |
|
13.Drilling in the opposite side support. |
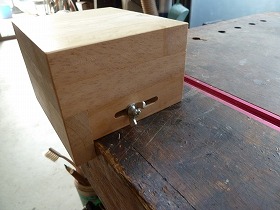
14.Drilling to fix the main body and the rear stopper. |
|
 |
 |
|
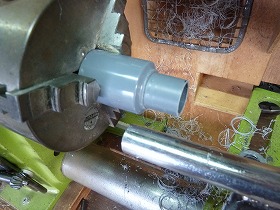
15.Turning the tip of the TS socket 20 *13 to a diameter of 22 mm * 20 L. |
16.The socket should be glued only on the lid side with an epoxy adhesive. |
|
 |
 |
|
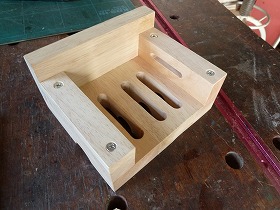
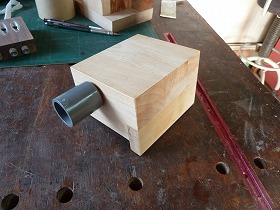
17.The upper surface of the assembled main body. |
18.The back of the main body. |
|
 |
 |
|
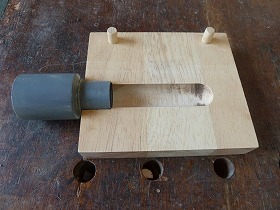
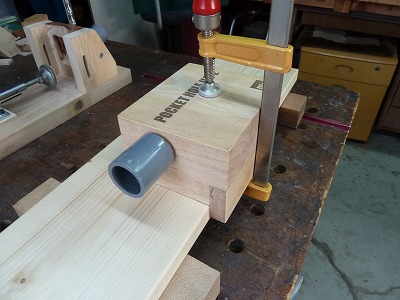
19.The state where the drill guide is inserted in the main body. |
20.With the top lid attached. |
|
 |
 |
|
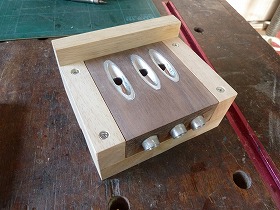
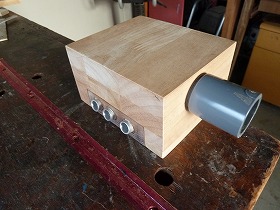
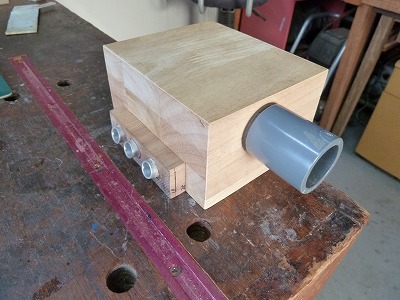
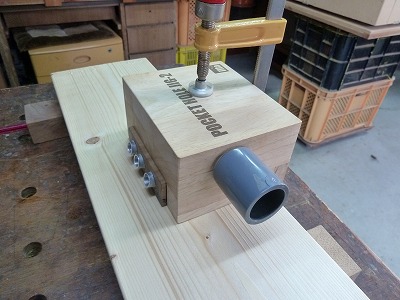
21.The state where the drill guide is inserted all the way. |
22.The thumbscrew is on one side only. |
|
 |
 |
|
23.Adjust the position of the drill stopper according to the thickness of the work, using the marker of the drill guide as a guide. |
24.If you do not have a dust collector, you will need to remove the lid. |
|
 |
 |
|
25.When It remove the lid and look at it from the top,It can see a round hole in the back. Chips are discharged from here. |
26.Engraved the letters on the lid with a laser. |
|
 |
||
Press the stopper against the work and fix it with a clamp. |
||
 |
||
The drill guide is the same height as the side support, so it will not shift. |
||