Corner doweling jig |
Oct. 31/2021 I made a drilling jig to penetrate and fix the dowel in the corner of the frame or the small box.Drawing |
 |
 |
|
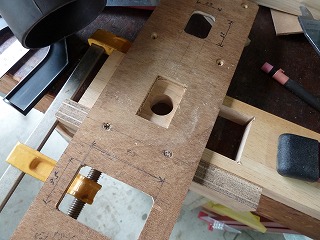
1.The material is rubber wood laminated lumber. |
2.First, cut it to a width of 60 mm with a table saw. |
|
 |
 |
|
3.Drill 6 mm on both ends of a 6 mm wide slot. |
4.Drill 3 mm at the four corners of the square hole where the drill guide block will fit. This is a process to make it easier to cut with a jigsaw and to make it easier to insert a guide block. |
|
 |
 |
|
5.20mm drilling of the center line confirmation window. |
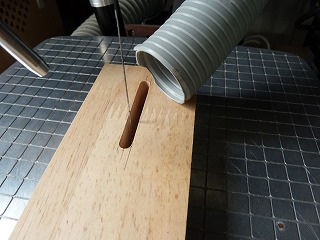
6.Cut out a 6 mm long hole with a scroll saw. |
|
 |
 |
|
7.Similarly, use a scroll saw to cut out the square hole that insert the drill guide block. |
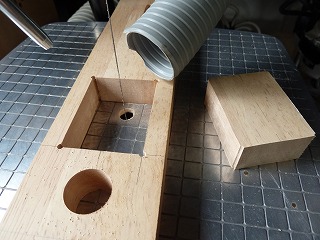
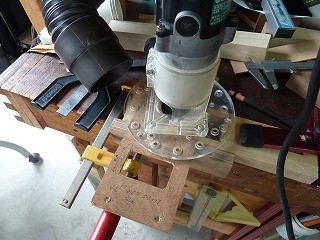
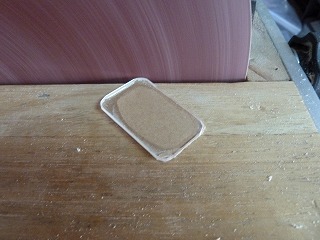
8.The notch in the square groove that contains the acrylic plate for the center line was made using a 5.5 mm thick plywood template. |
|
 |
 |
|
9.Use a 6mm bit to dig a 3mm deep groove. |
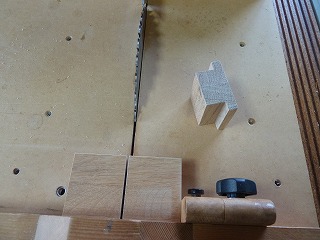
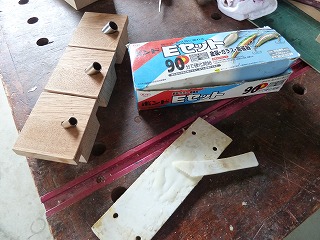
10.Use Japanese ash for the drill guide block. Cut 10 mm from the edge and process it into a T shape. |
|
 |
 |
|
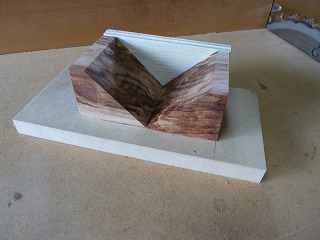
11.Cut to a length of 53 mm. |
12.This is a 45 degree drilling jig made from offcuts. |
|
 |
 |
|
13.Bolt through hole 6 mm for fixing L-shaped bracket. |
14.Pilot hole for M6T-nut, 7.4mm. |
|
 |
 |
|
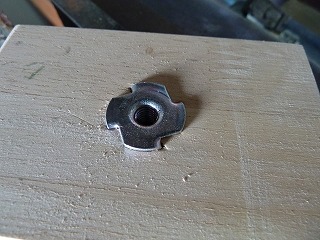
15.The T-nut can be pushed straight in by sandwiching it with a vise. |
16.There is no counterbore. |
|
 |
 |
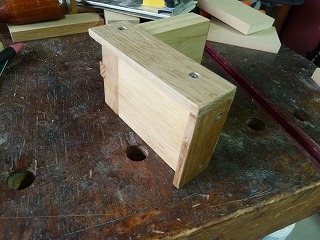
|
17.Drill with a pocket hole jig. |
18.Fix it to a right angle jig and fix it with screws |
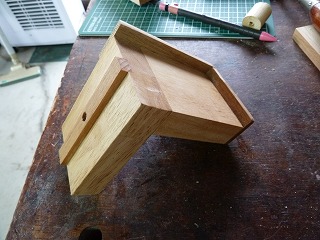
|
 |
 |
|
19.Glue a 9.5mm plug made with the round bar shaving jig introduced last month. |
20.When sanded there, it becomes a beautiful oval pattern. |
|
 |
 |
|
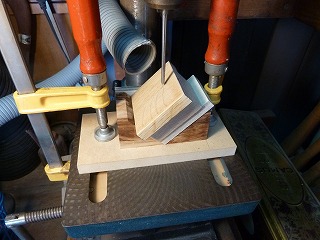
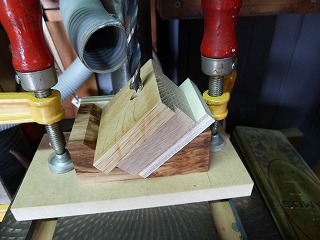
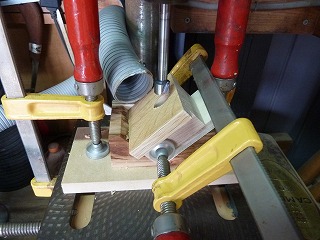
21.Place the drill guide block on the 45 degree drilling jig, align the drilling position, and fix the jig to the drill table. Now you can make a hole in the same position. |
22.For alignment, I used a thin taper reamer with a sharp point, which is used for center punch. |
|
 |
 |
|
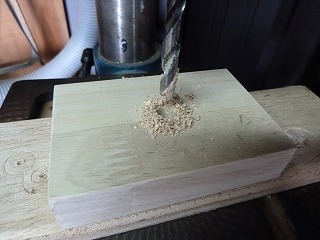
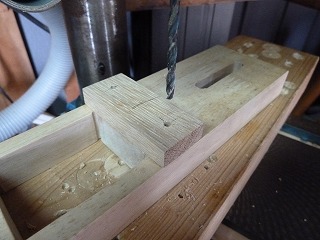
23.Drilling for pipe 6*8. First drill 8mm holes. The depth is 40mm. |
24.Next, Drilling a 6mm through hole. |
|
 |
 |
|
25.Drilling for pipe 8*10. First drill 10mm holes. The depth is 40mm. |
26.Next, Drilling a 8mm through hole. |
|
 |
 |
|
27.Drilling for pipe 10*12. First drill 12mm holes. The depth is 40mm. |
28.Next, Drilling a 10mm through hole. |
|
 |
 |
|
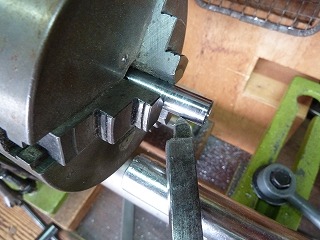
29.Here, it was found that the outer diameter of the 12 mm pipe was about 12.5 mm. Therefore, Turning the outer diameter with lathe. |
30.Glue the pipe to the drill guide block with two-component epoxy. |
|
 |
 |
|
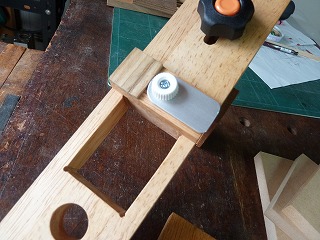
31.Grooving to insert the slide crosspiece into the main body.12mm width x 3mm depth. |
32.Grooving to bond the crosspiece to the L-shaped bracket.12mm width x 5mm depth. |
|
 |
 |
|
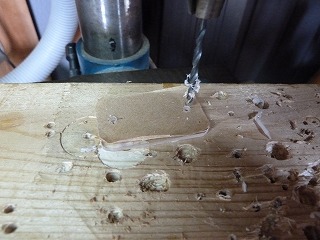
33.After adhering the pedestal for the plate that holds the drill guide block, Drilling 2.5 mm. |
34.Make a counterbore. |
|
 |
 |
|
35.Make a counterbore to sink the flange of the insert nut. Diameter 9 mm x depth 1 mm. |
36.Drilling 6 mm. |
|
 |
 |
|
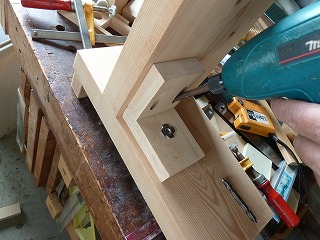
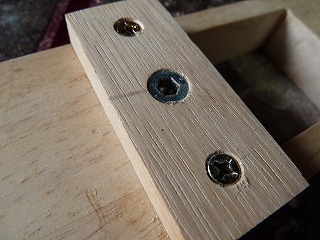
37.Screw in the insert nut with a hex wrench. |
38.This is a fence to prevent the disposable board from falling. 2.5 mm drilling for mounting screws. |
|
 |
 |
|
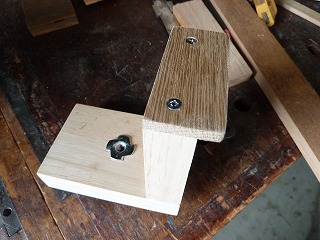
39.Fix the fence under the L-shaped bracket. |
40.Attach a fence to the side in the same way. |
|
 |
 |
|
41.When the fence is attached, it becomes like this, and the disposable board does not fall or shift sideways. |
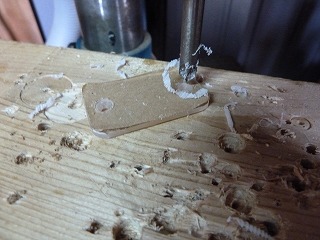
42.After cutting 3t of acrylic plate for the center line as shown in the drawing, cut the four corners to R3 with a sander. |
|
 |
 |
|
43.Drilling 2.4mm for mounting screws. |
44.Make a counterbore. |
|
 |
 |
|
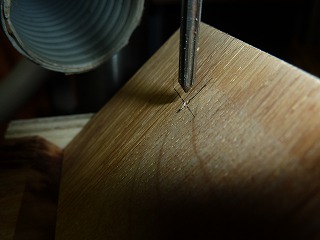
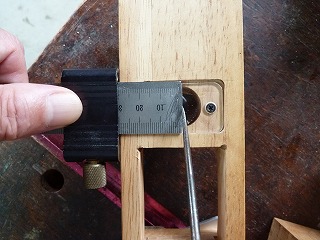
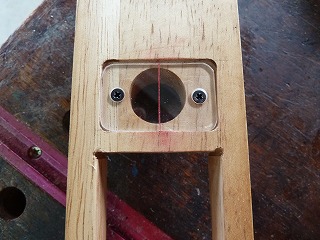
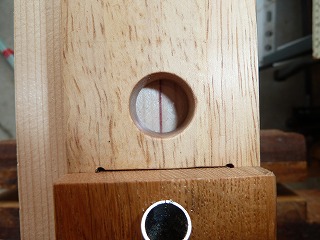
45.Attach the acrylic plate to the main body and fill in the center line with a scribing needle. |
46.Then, a dented line enters like this. |
|
 |
 |
|
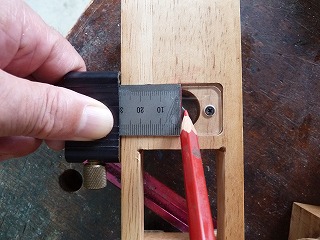
47.Trace over the line with a red pencil. |
48.Then, the center line becomes red and it becomes easy to see. |
|
 |
 |
|
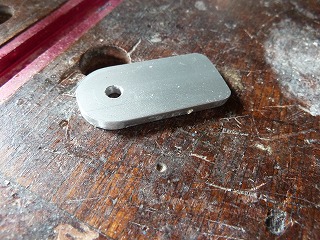
49.This is the holding plate of the drill guide block.After marking the cutting line on an aluminum plate with a width of 20 mm and a thickness of 3 mm, a hole of 4 mm is drilled. |
50.Completed block holding plate. |
|
 |
 |
|
51.Fix the block retainer plate to the main body with screws. The plate that can be seen on the left side of the holding plate is a stopper to prevent the holding plate from rotating. |
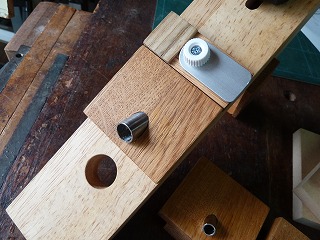
52.Completed body, drill guide block, disposable board. |
|
 |
 |
|
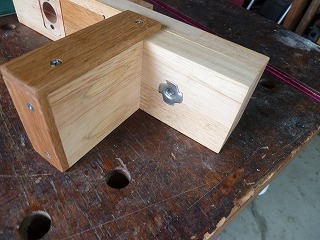
53.The side of the main body. |
54.The back side of the L-shaped bracket. |
|
 |
 |
|
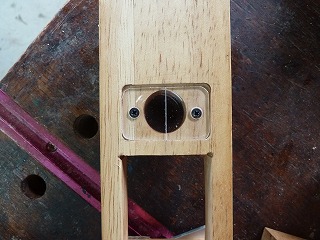
55.The back side of the main body. Can see the centerline scale and the back of the drill guide block. |
56.Looking at the centerline scale from the front side, it looks like this. |
|
 |
 |
|
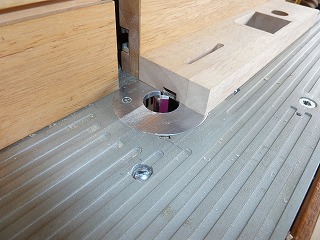
57.The state where the drill guide block is inserted into the main body. |
58.The aluminum retainer plate is rotated 90 degrees and locked. |
|
 |
 |
|
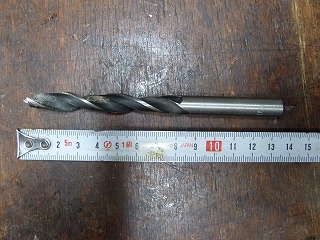
59.I bought a middle size drill with a total length of 160 mm and a blade length of 100 mm from RAKUTEN for 6 mm and 8 mm drills. What you can see in the upper right is the stopper that I bought at MONOTARO before. |
60.When I measured the total length of the 10mm drill that I usually use, it was 140mm, so I think I can use it somehow. |
|
 |
||
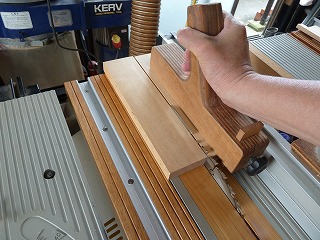
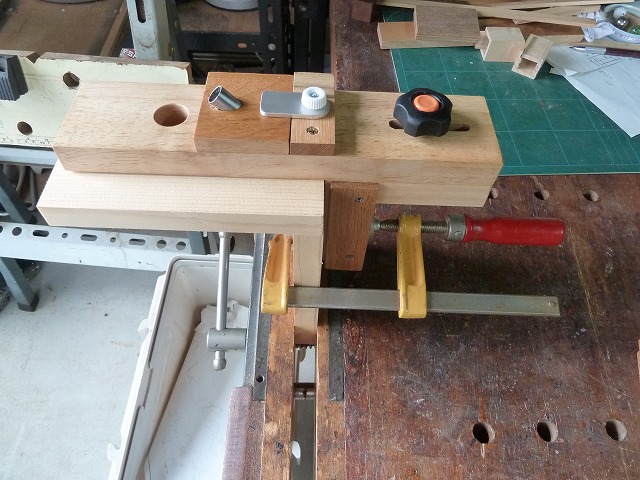
When making a dowel hole, fix the jig to the work with an F clamp. |
||
 |
||
Please see the video for how to use it. |
||