Outfeed side dust collection port for router |
Nov. 19/2023 The table saw BT3100 also comes with a router table. When cutting the surface that is in contact with the router fence, the chips can be collected from the dust collection port attached to the fence, but when cutting the center of the workpiece, the chips will scatter onto the floor. So It created an outfeed side dust collection port to collect the chips before they hit the floor.This is an Explanatory drawingof the dust collection method. This is a Drawing for production. |
)
 |
 |
|
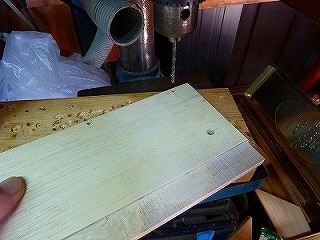
1.The material is 9mm and 5.5mm thick plywood. Cut according to the drawing using a table saw. |
2.Cut the part that interferes with the table with a router. |
|
 |
 |
|
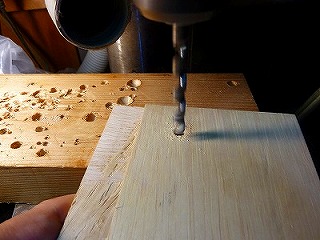
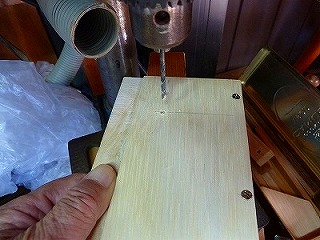
3.Drill a 6mm hole to attach the FB that inserts into the aluminum frame of the table. |
4.Drilling 3.2mm for course threads. |
|
 |
 |
|
5.The connection part to the 9mm thick plywood uses 3.3 x 25L course thread. |
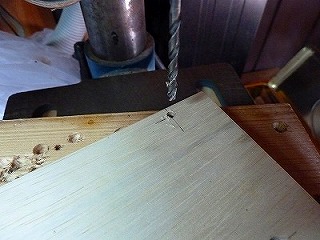
6.Drilling for mounting the stay support. |
|
 |
 |
|
7.Angle cut of stay support. |
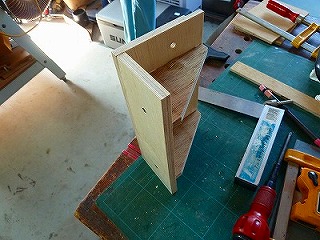
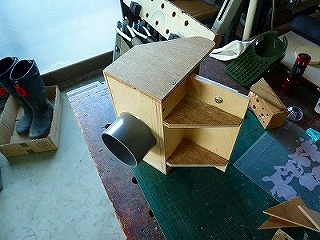
8.For now, I have completed the assembly of the part that will be attached to the table. |
|
 |
 |
|
9.Marking of 76mm hole to attach VU65 PVC pipe. |
10.Cut with a scroll saw. Cut it into smaller pieces. |
|
 |
 |
|
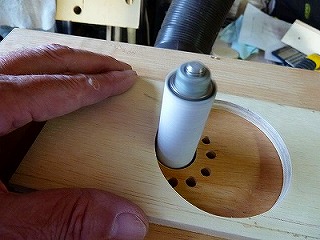
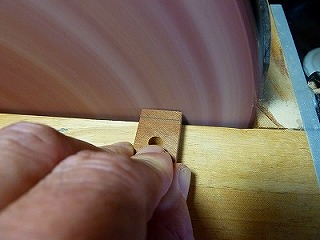
11.Use a homemade spindle sander to adjust the hole diameter to just the right size to fit the PVC pipe. |
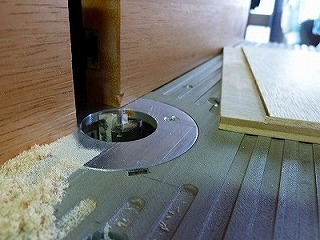
12.This is a 25 x 3t FB that inserts into the aluminum frame of the table. 5mm pilot hole for M6 tap. |
|
 |
 |
|
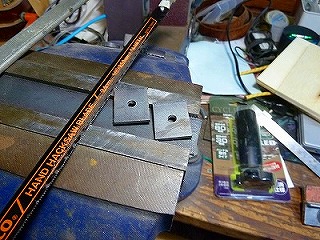
13.Cut to 20mm length with a hacksaw. |
14.M6 tap. When using a spiral tap, there is no need to worry about the tap breaking. |
|
 |
 |
|
15.Two completed insert plates. |
16.This is a spacer to be placed under the insertion plate. Drill a 6mm hole in 8mm thick cherry wood. |
|
 |
 |
|
17.Since the cutting width was narrow, I used a disc sander to finish it to the specified width. |
18.Two completed spacers. |
|
 |
 |
|
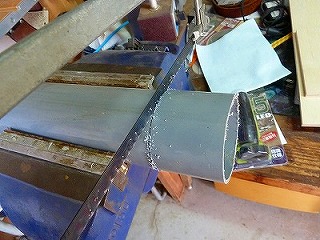
19.VU65 pipe into which the dust collection hose is inserted. Cut it a little longer than the drawing. |
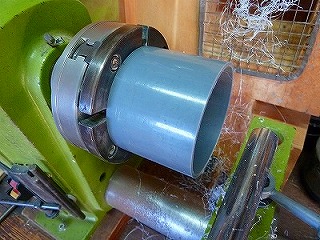
20.Grip it from the inside with a bantam chuck on a wood lathe and center it with a dial gauge. |
|
 |
 |
|
21.Turning the end face flat. |
22.Turn the workpiece over and turn the other side flat. |
|
 |
 |
|
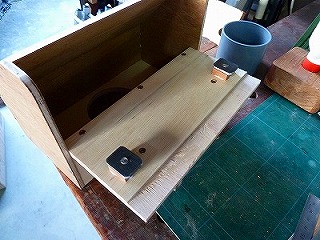
23.Glue each part. |
24.Secure the insertion plate and spacer with M5 x 20L hex bolts. |
|
 |
 |
|
25.Adjust so that the two plates are parallel, and then final tighten. |
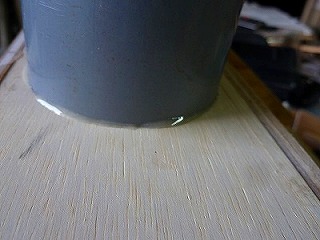
26.Glue the PVC pipe to the plywood using a two-part epoxy adhesive. |
|
 |
 |
|
27.Leave it for 24 hours and the adhesion is complete. |
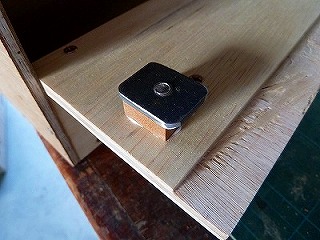
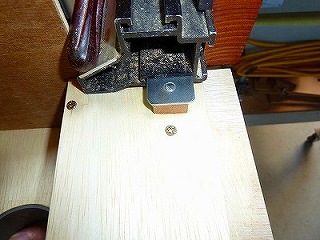
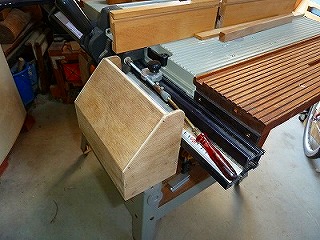
28.Now, let's attach it to the table. It's hard to tell from the photo, but the FB is inserted into the aluminum frame. |
|
 |
 |
|
29.Inserted it all the way to the fence's fixing lever. Please watch the video for more details. |
30.This is what it looks like from below. |
|
 |
||
The width is 200mm, which is just the right size. |
||
 |
||
Since there is little protrusion, there is no problem even if it is installed permanently. |
||