Forester SK glove box interior partition plate |
Jan. 28/2024 The glove box of the 5th generation Forester SK has a small capacity and there are no partitions, making it difficult to use. In particular, I can't decide where to put my vehicle inspection and maintenance notebooks, so I can't keep them tidy. So I decided to make the internal partition board handmade.Drawing |
 |
 |
|
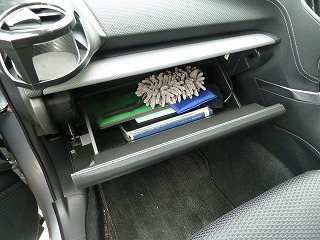
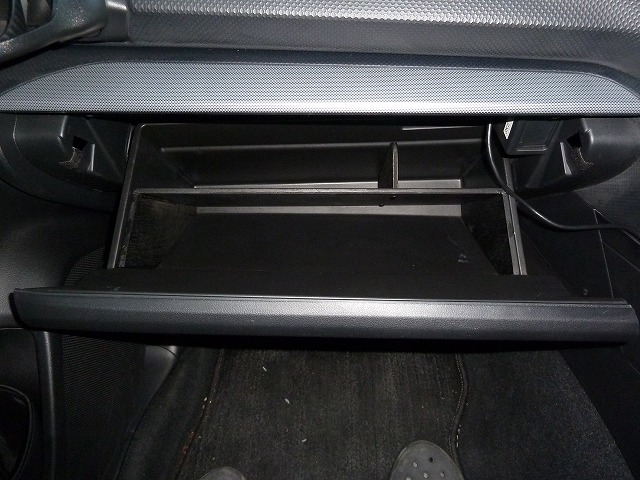
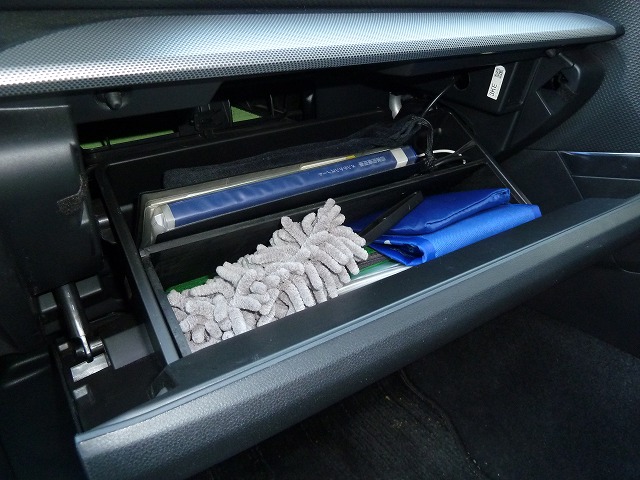
1.There are no partitions, so a lot of things pile up inside the glove box. |
2.First, in order to remove the glove box, take out what's inside. |
|
 |
 |
|
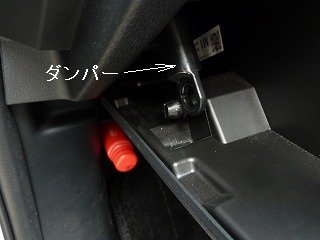
3.First remove the left side damper, then push both sides firmly inward and lower the glove box to easily remove it. |
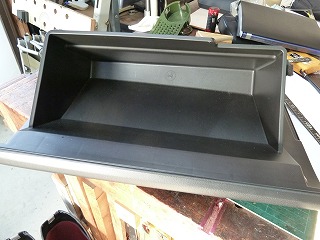
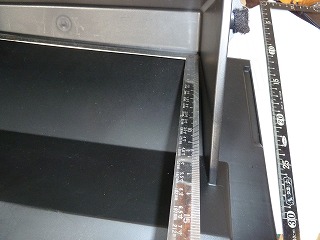
4.Glove box removed. It has a very complex shape and has a tapered bottom. |
|
 |
 |
|
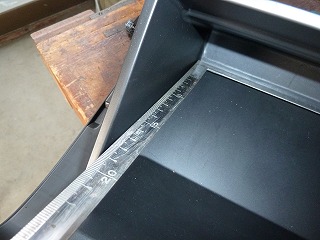
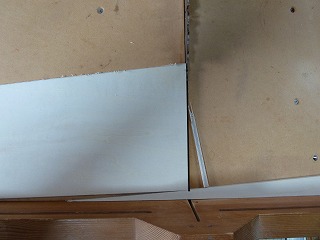
5.If it apply a square ruler to the bottom, you'll notice a gap, so this is also tapered. |
6.When checked the right side in the same way, It found that it was tapered. |
|
 |
 |
|
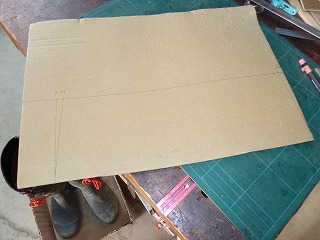
7.It's difficult to make one out of plywood right away, so make a pattern out of cardboard. |
8.Mark with approximate dimensions and cut. |
|
 |
 |
|
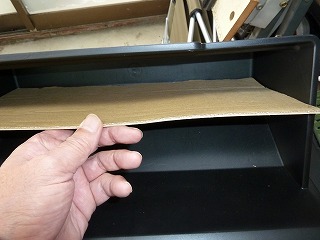
9.I actually made minor adjustments while applying the pattern to the glove box. |
10.Place the pattern on 5.5mm thick china veneer and mark. |
|
 |
 |
|
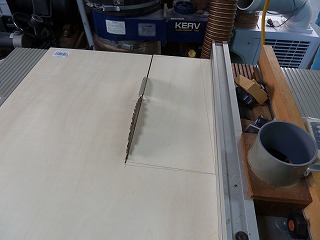
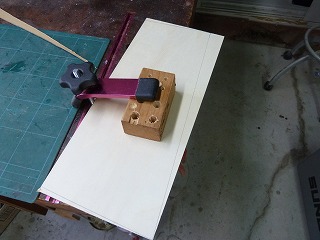
11.Cut to 155mm width using a table saw. |
12.The long sides were cut diagonally with a hand saw. |
|
 |
 |
|
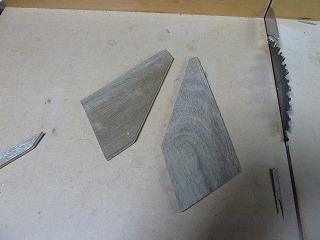
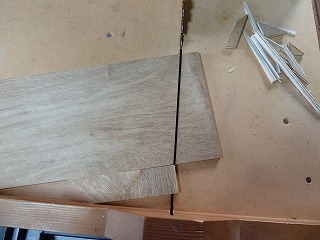
13.I was able to safely cut the diagonal part of the short side by adjusting the angle by holding a triangular scrap board in between. |
14.Completed partition board. |
|
 |
 |
|
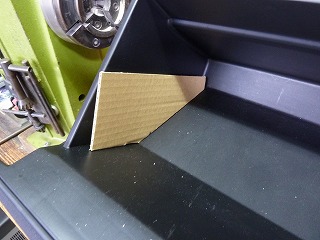
15.Make a pattern for the support part using cardboard as well. This is still being fine-tuned. |
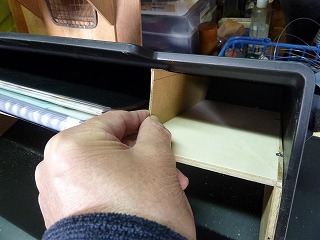
16.Place the support pattern in the glove box and place the completed partition board on top. And further fine-tune support. It feels good. |
|
 |
 |
|
17.Completed support. The shapes on the left and right are different. |
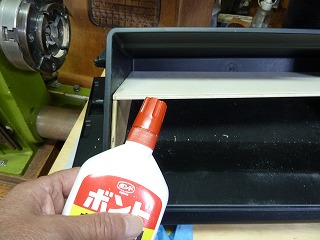
18.With the support and partition plate in the glove box, temporarily secure them with wood glue. After that, Tightened it with wood screws and it was almost completed. |
|
 |
 |
|
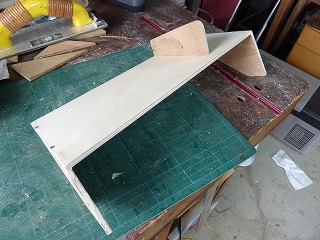
19.Attach a board to the top of the partition board that also serves as a left and right partition and a support board to prevent it from moving. Make a pattern out of cardboard as well. |
20.Cut the plywood according to the pattern using a table saw. |
|
 |
 |
|
21.While sanding it little by little with a disc sander, adjust the dimensions to fit comfortably in the glove box. |
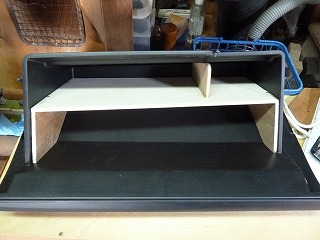
22.Tighten it with the screws and it's complete. |
|
 |
 |
|
23.I put it in the glove box and it fit perfectly. |
24.As it is, it looks a little unnatural, so I decided to paint it matte black. |
|
 |
||
Once the painting was completed, I installed it on the car and it fit perfectly, like a special part. |
||
 |
||
It's a good feeling. It's been a long time since I've felt a sense of accomplishment doing DIY. I have made a drawing of the completed product, so please refer to it. |
||