Reupholstering the seat of a chair |
Jul.22/2024 It's been about 25 years since I bought this chair, and the seat of the dining chair was beginning to tear, so I decided to replace the seat. |
 |
 |
|
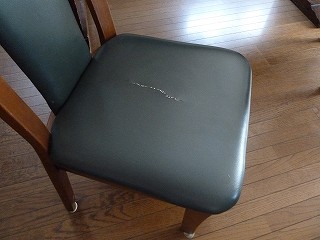
1.There is a crack in the center. It lasted me well for 25 years. |
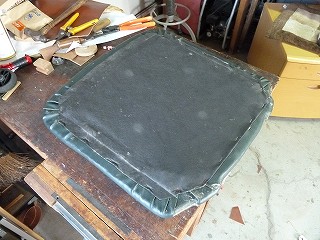
2.Remove the seat from the chair and turn it over. |
|
 |
 |
|
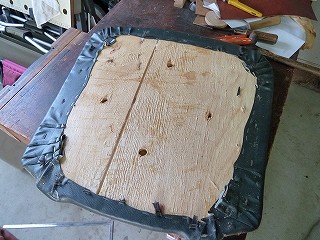
3.There was a non-woven makeup fabric attached to the back with staples, but it was a pain to remove the staples and the non-woven fabric had deteriorated, so I ripped it off. |
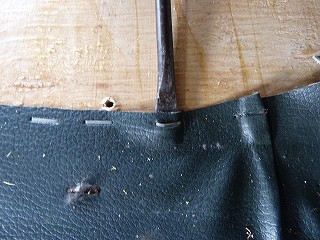
4.Next, remove the synthetic leather, which is firmly fixed with staples, so drive a flathead screwdriver into the gap between the staples and pop it up a little. |
|
 |
 |
|
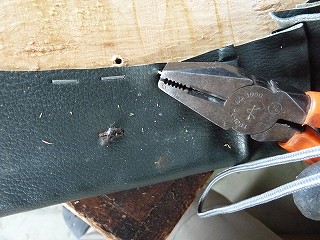
5.Next, pull out the staple with pliers. This work was quite tiring because there were a lot of staples. |
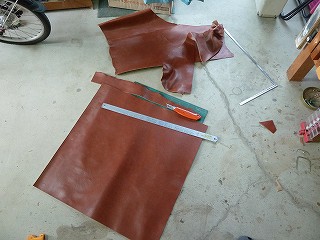
6.Decided to reupholster it with genuine leather that in stock. The leather is about 2mm thick and in good condition. First, cut it into 640mm square pieces. |
|
 |
 |
|
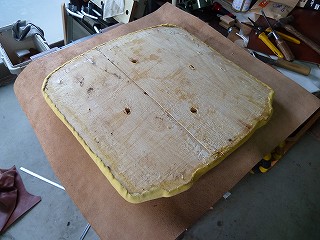
7.Turn the leather over and place the seat on it. I would have regretted it later if I should have replaced the urethane or added another layer at this time. |
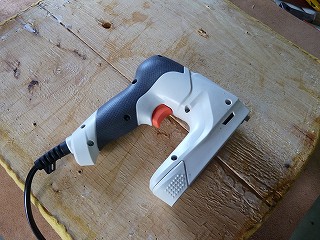
8.An electric tacker that I bought to attach leather. DCM brand T-GT-2. I wanted to buy an air type with more power, but I thought I might not use it that much in the future, so I decided on this one. |
|
 |
 |
|
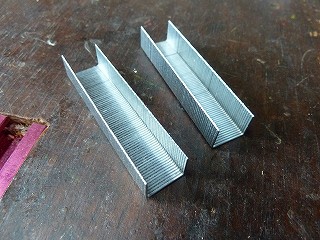
9.12 x 10mm staples that came with the tacker. Tucker can be equipped with one set (100 pieces). |
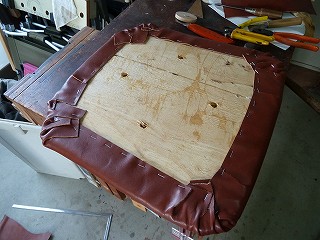
10.Finish fixing the leather with staples. The R part of the corner was difficult, but my wife and I managed to complete it with the help of two people. I thought about putting non-woven fabric on it to hide the wrinkles, but my wife said, ``You can't see it, and it's not a product for sale, so this might be fine,'' so I stopped putting it on. |
|
 |
||
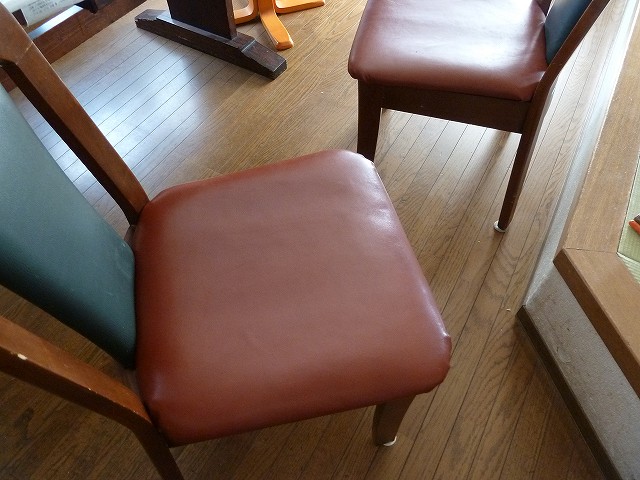
Completed reupholstering 2 legs. The seat is a little hard because I didn't replace the urethane, but the two-tone color makes it look good. |
||