DIY Yanmar tractor roof |
Dce. 22/2025 After using the tractor for about a month, I realized that not having armrests was inconvenient and tiring.so I decided to install wooden armrests. |
 |
 |
|
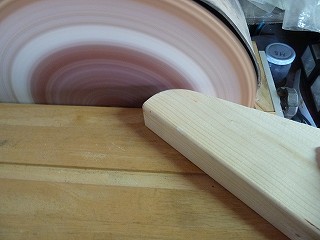
1.The material is 2x4 lumber. I cut it diagonally to make it look cool. |
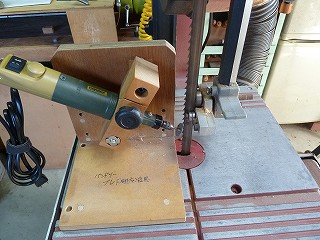
2.Sanded with a homemade disc sander. |
|
 |
 |
|
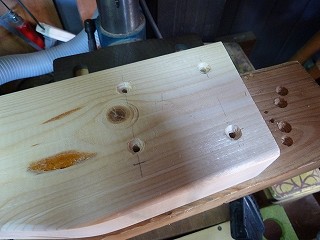
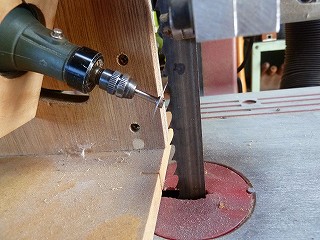
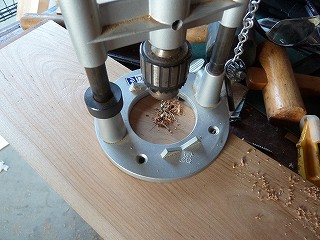
3.The mounting hole is 4.5mm and is countersunk into a cone. |
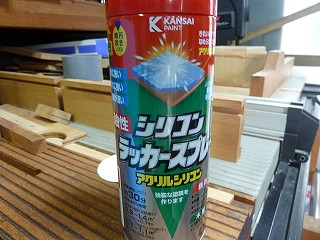
4.Paint with oil-based silicone lacquer. |
|
 |
 |
|
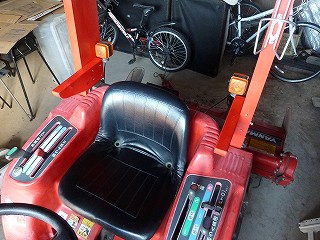
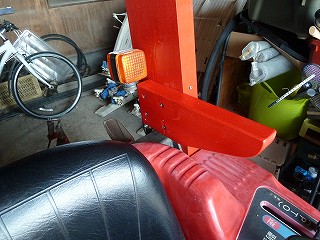
5.Installation completed. View from above. |
6.It looks cool from the side. |
|
 |
 |
|
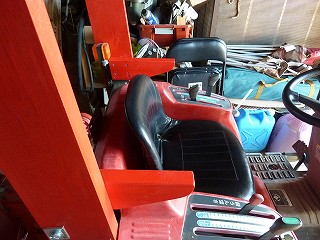
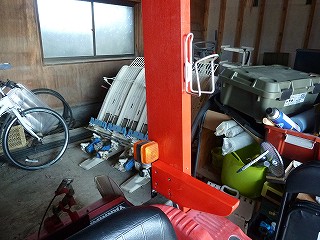
7.I was debating whether to place it on the outside or inside of the post, but it was easier to rest my arm on the inside. |
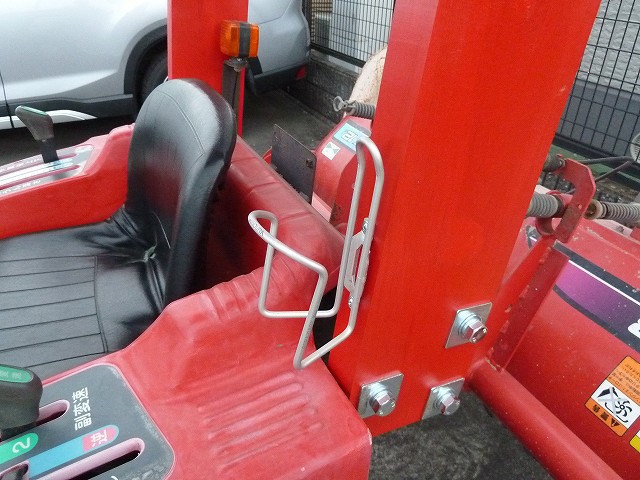
8.The drink holder has been moved up. |
|
Oct. 25/2025 I bought a used Yanmar KE-2D tractor. It didn't have a safety frame or a roof (canopy). So I decided to make a roof using the mounting base of the safety frame.Drawing |
 |
 |
|
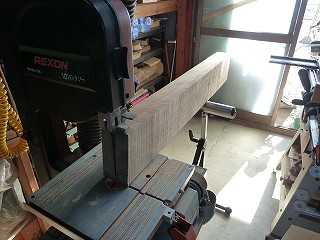
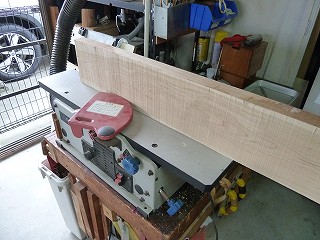
1.In order to saw and split a 177mm square piece of cherry wood, the bandsaw blade was replaced with a 15mm wide blade and sharpened. |
2.Cherry wood is hard, so it's a good idea to keep the blade sharp. |
|
 |
 |
|
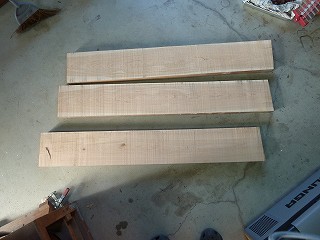
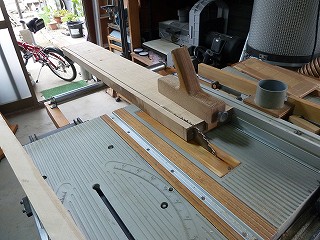
3.It takes time and care to chop it up. |
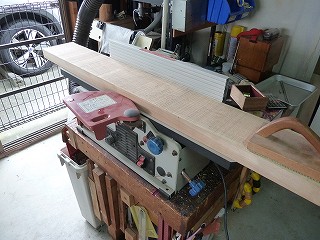
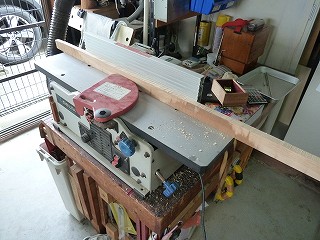
4.Three 40mm thick boards were obtained. |
|
 |
 |
|
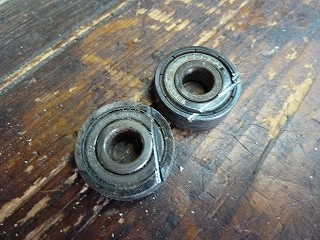
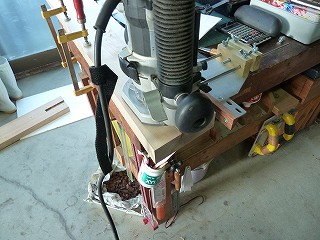
5.Sparks were coming from the bearing that receives the band at the end of the sawing, so when we disassembled it, it seemed that the bearing was stuck and not turning. |
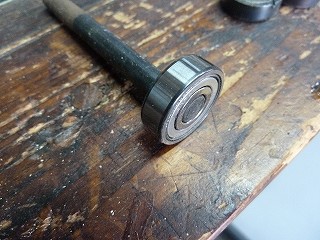
6.Replaced with a new bearing 608ZZ. I should have adjusted it properly before using it. |
|
 |
 |
|
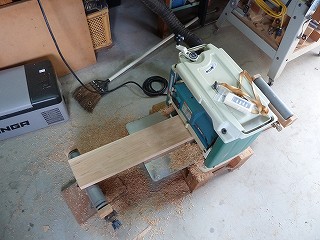
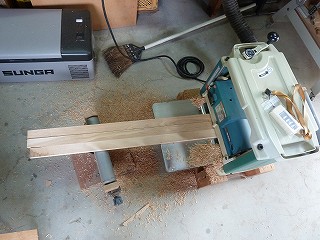
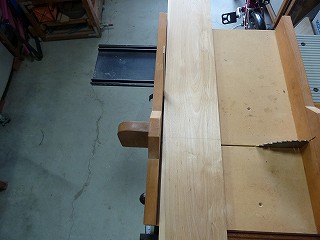
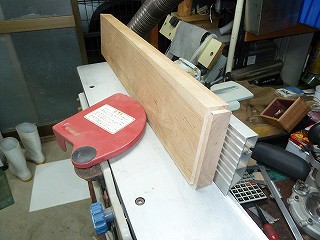
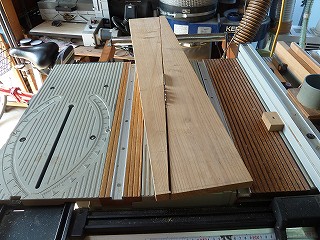
7.Make the end face square with a semi-automatic planer. |
8.Cut to a width of 140mm using a table saw. |
|
 |
 |
|
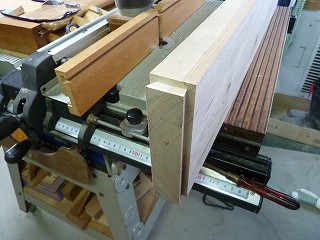
9.Use a semi-automatic planer to finish one side flat. |
10.Since I also used scrap wood, I finished two sides. |
|
 |
 |
|
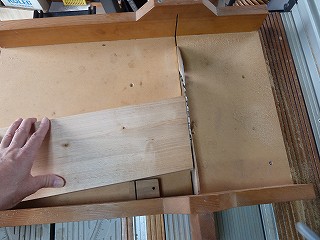
11.The thickness is finished to 40mm using an automatic planer. |
12.This is 15mm thick. |
|
 |
 |
|
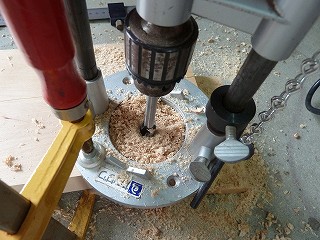
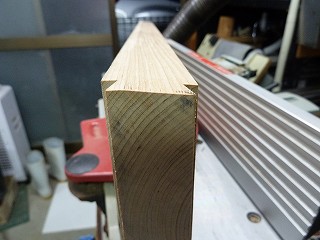
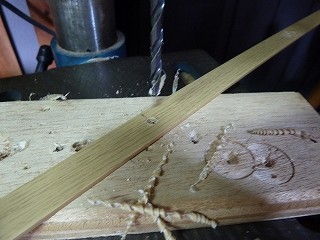
13.Cut the ends of the materials to be used for the pillars at 83.4 degrees. |
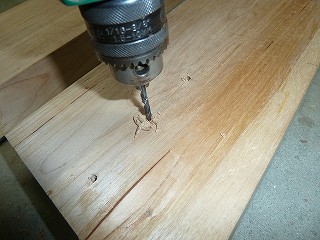
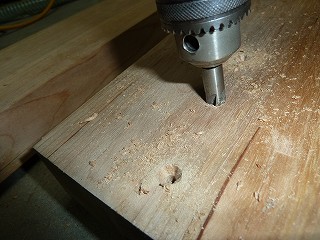
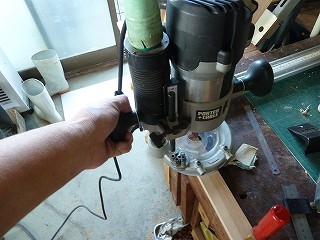
14.Drilling to attach to the tractor. The Forstner bit is 1/2 inch. |
|
 |
 |
|
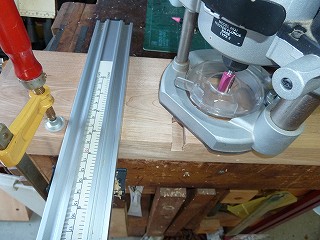
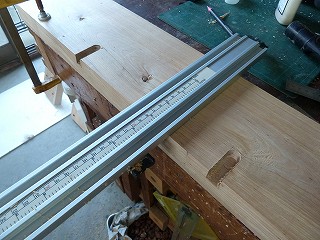
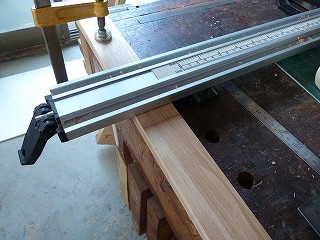
15.The bit used for dovetail processing is 1/2 inch. Attach a slide guide to the router to adjust the bit position. |
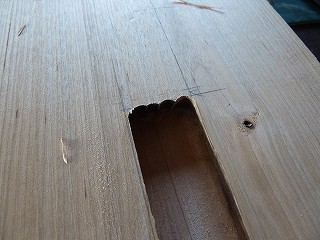
16.Machining the female part of the dovetail groove. |
|
 |
 |
|
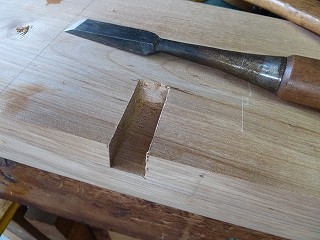
17.The completed dovetail groove. The ends were neatly finished with a chisel. |
18.Cut the beams to the required length. |
|
 |
 |
|
19.Machining the male part of the dovetail groove. |
20.The finished male dovetail part. |
|
 |
 |
|
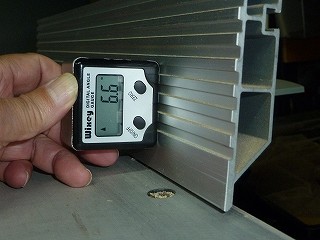
21.To angle the top end of the beam member, the guide of the semi-automatic planer was tilted 6.6 degrees. |
22.Continue machining until the entire end surface is completely removed. |
|
 |
 |
|
23.The tilted surface becomes horizontal when installed. |
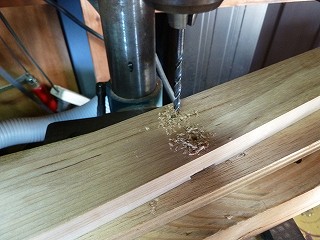
24.Drilling a 4mm to tighten the dovetail connection with coarse threads. |
|
 |
 |
|
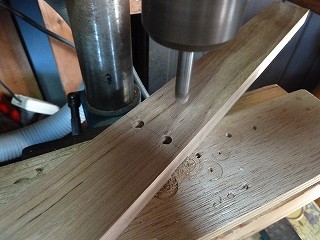
25.Countersinking. |
26.Dig a groove 15mm wide and 15mm deep into the beam. Use a 15mm straight bit. |
|
 |
 |
|
27.Two grooves completed. |
28.The R part of the edge was cut at a right angle with a chisel. |
|
 |
 |
|
29.Prepare to dig a trench 15mm wide and 3mm deep in the beam made from scrap wood. |
30.Grooving with a router. |
|
 |
 |
|
31.3.3mm holes for coarse threads. |
32.Countersinking. |
|
 |
 |
|
33.3.8mm holes were also drilled in the main beam for coarse threads. |
34.Countersinking. |
|
 |
 |
|
35.The stays on both sides are made of cedar wood, which is cut diagonally. |
36.Each component is temporarily assembled using coarse threads. |
|
 |
 |
|
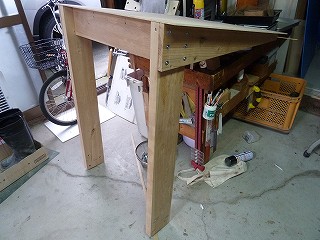
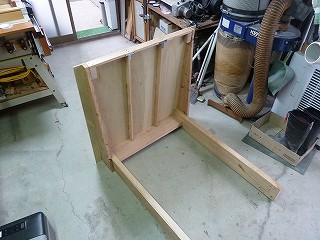
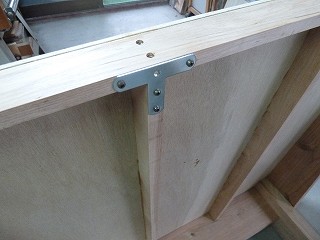
37.The dimensions checked and there were no problems, so I applied yellow glue and did the final assembly. |
38.Since no diagonal stays were included, they were reinforced with T-shaped metal fittings. |
|
 |
 |
|
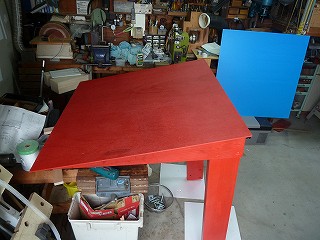
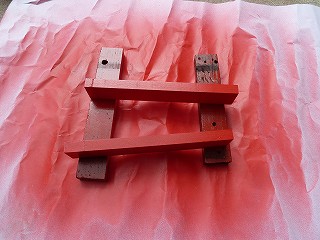
39.After much deliberation, I decided on YANMAR red paint. |
40.The paint is an oil-based silicone lacquer. |
|
 |
 |
|
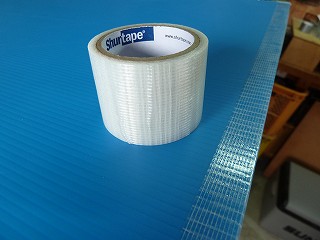
41.I sealed the hollow spaces in the plastic cardboard that I was attaching to the top with strong tape, because if I didn't seal them up, dust would get in and insects would make nests and make the table dirty. |
42.A 15mm wide plastic plate to hold down the plastic cardboard. It wasn't strong enough, so perhaps it would have been better to use stainless steel. |
|
 |
 |
|
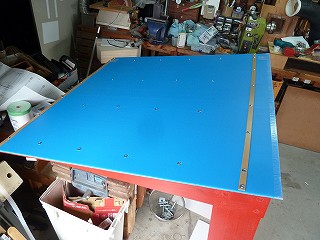
43.Plastic cardboard pasting completed. |
44.Also, all the metal fittings on the tractor were rusty, so I painted them matte black. |
|
 |
 |
|
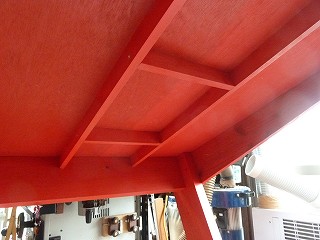
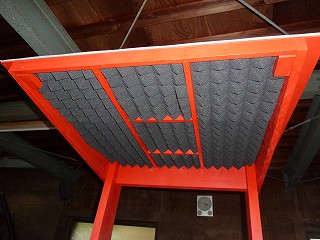
45.When I drove, the engine noise resonated with the ceiling, making a drum-like sound. The 5.5mm plywood might not have been thick enough. So I decided to add more beams. |
46.The intensity has increased and the resonance has decreased significantly, but it's still a bit noticeable. |
|
 |
||
The tractor without the roof attached. |
||
 |
||
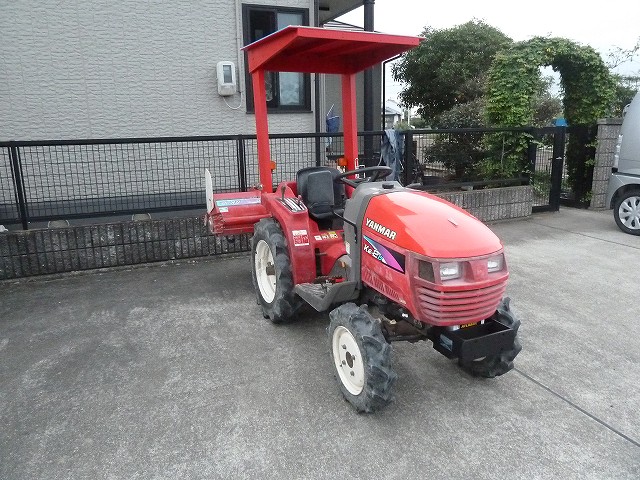
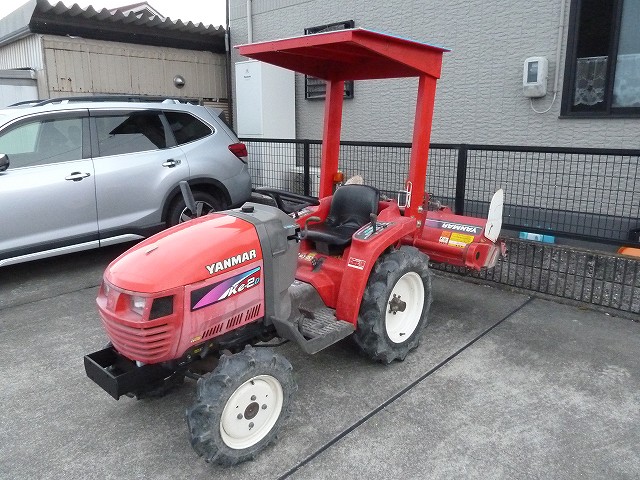
With the roof attached, it looks much more manly. |
||
 |
||
This is good. |
||
 |
||
I transplanted the drink holder that was attached to a road racer that I am no longer using. |
||
 |
 |
|
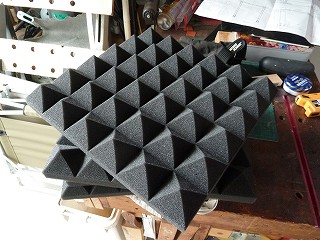
51.I was still bothered by the reverberation of the engine noise, so I tried sticking some high-density urethane foam sound-absorbing material on it, just in case. |
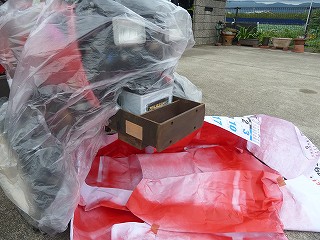
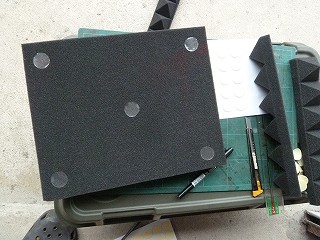
52.I bought it on Amazon and attached it with double-sided tape. |
|
 |
 |
|
53.This comes with a strong double-sided tape. |
54.I tried sticking some urethane on and starting the engine, but it still didn't seem to have much effect. Since it's a bass range vibration, it might be better to install a stay to strengthen the roof and prevent it from vibrating. |
|