Recently, I have been using my trimmer more.
The adjustment of the depth of cut is difficult for this trimmer.
Therefore,I designed and made a depth gauge to make the operation easier.
If you would like to build this depth gauge click on the plans.
drawing
)
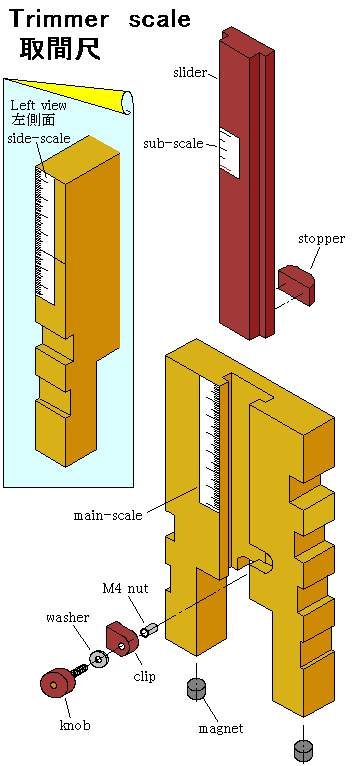
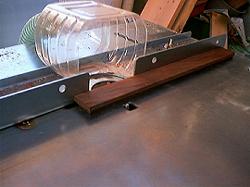
As for the material, the body is a zelkova tree and the slider is rosewood.
I bought their material at 500JPYen.
-- work procedure --
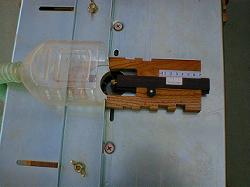
Body
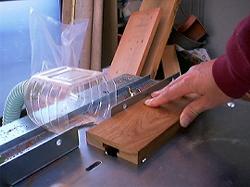
I machined a dovetail the length of the body using my Router and router table.
I machined the central cut to the depth of 12mm with a 10mm dovetail bit.
Next, it manufactures the part of grove at once by the bit of φ28mm*6mm.
Also, the hollow in the side measuring correctly with the calipers because it becomes a scale.
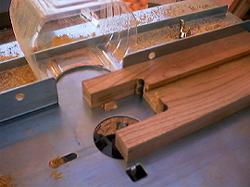
It begins to cuts tongue after pasting together two sheets of boards.
At this time, it adjusts a slider to the ditch of the body and it cuts it until it slips smoothly.
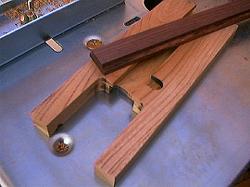
Next, it sets a stopper.

I assembles the body and a slider.
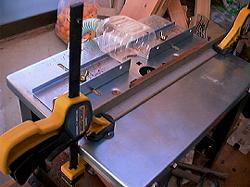
Then, I cuts the top and the bottom with the slide handsaw.
It becomes length with the body and the same slider.
Also, it becomes right-angled.
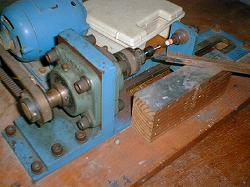
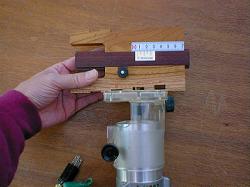
I thought that it is possible to use any knobs but I made it.
The material is rosewood.
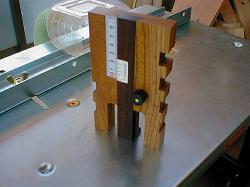
Last, It sets a scale.
The main scale can use the original.
However, I wrote a sub- scale.
If dividing equally 19 mm in 4, the graduation is 0.25 mm.
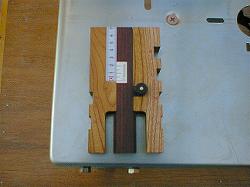
Also, I writes a figure to understand the depth of the hollow in both sides.
It glues together a magnet with epoxy.

The manual
1. It measures the height of the trimmer bit.

2. It puts to the trimmer stand and it measures height.
3. It puts to the trimmer stand and it measures a distance from the bit.
4. It adjusts height on the hollow in the body side.
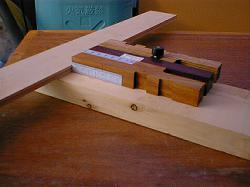
5. It decides the position of the guide.
0 positions become the center of the trimmer.
But, It is adjusting this to M6 of HITACHI..