Spindle sander |
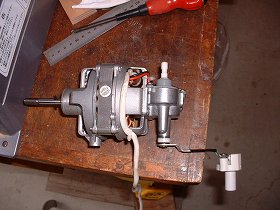
Feb. 6/2010 I made Spindle sander. I used a secondhand motor and a slide bearing unit. See the drawing. |
 |
 |
|
1.The motor is the one of the electric fan for the home. I thinks that it is possible to use if small but being small sander. |
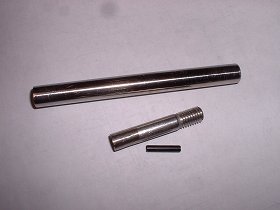
2.Cutting of the unnecessary screw part. |
|
 |
 |
|
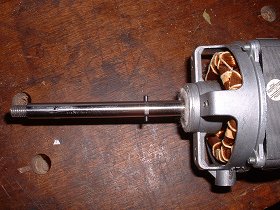
3.The extension pipe of the motor shaft. It's OD12mm~ID8mm pipe. |
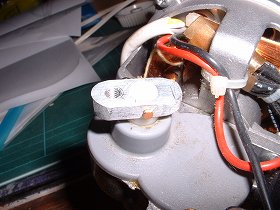
4.fixes a pipe on the motor shaft with the insertion spring pin. |
|
 |
 |
|
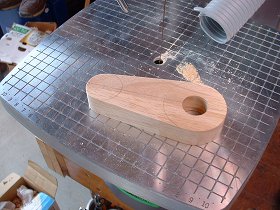
5.The eccentric plate.It is 8mm excentric.It leans 8mm. Therefore, the spindle stroke is 16 mm. |
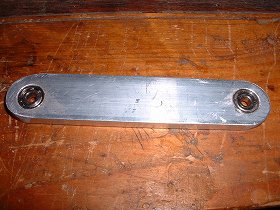
6.Connection plate. Bearing in it. |
|
 |
 |
|
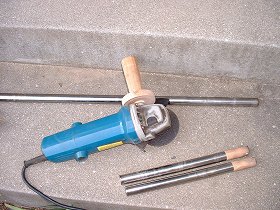
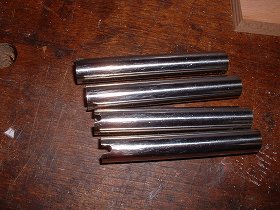
7.Cutting of the linear shaft. |
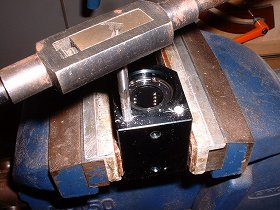
8.M5 Tapping to the linear bearing unit. |
|
 |
 |
|
9.Tapping to the linear bearing unit on M5. |
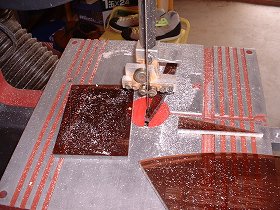
10.Cutting of the 8mm PVC plate by band saw. |
|
 |
 |
|
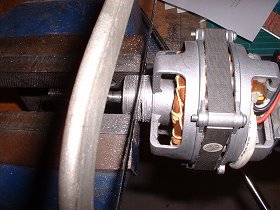
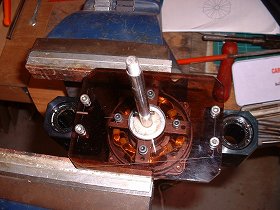
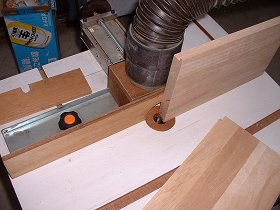
11.Assembly of motor unit. |
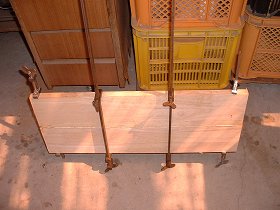
12.Making the body. It's gum tree board. |
|
 |
 |
|
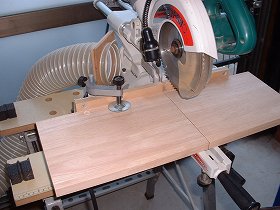
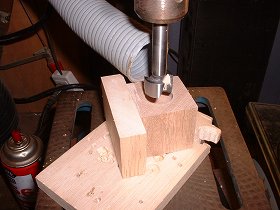
13.Cutting of gum tree board. |
14.temporary assembly. It moved smoothly. |
|
 |
 |
|
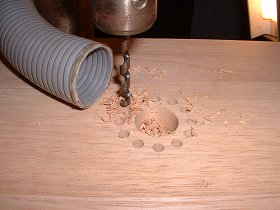
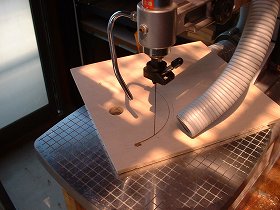
15.Dust collector port on the table. |
16.Making a ditch of the side frame. |
|
 |
 |
|
17.The screw part which stops the knob of the crankshaft to adjust a position at the top and the bottom of the motor. |
18.The back cover. 5.5 mm thickness. |
|
 |
 |
|
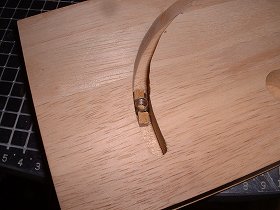
19.This is the knob which moves a crankshaft. |
20.Making a crank and the shaft. It is 8mm excentric. |
|
Jan. 28/2010 | ||
 |
 |
|
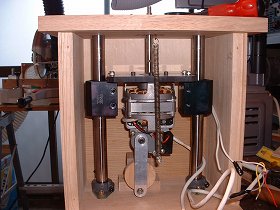
21.This is the bearing of the crankshaft.However, I merely made a hole only. |
22.Assembly. The movement became more smooth because it hung a motor in the spring. |
|
 |
 |
|
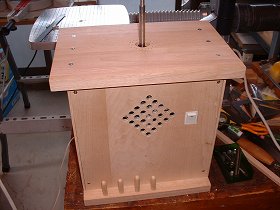
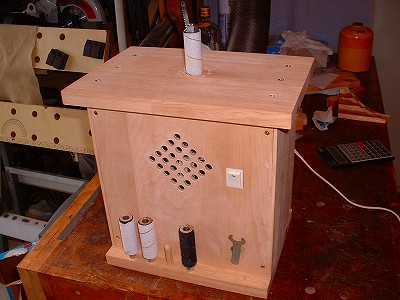
23.Front. The hole at the center is an air intake port. Its right is a power switch.
|
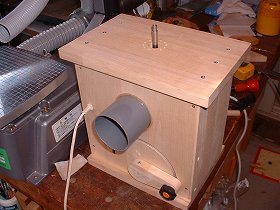
24.Back. The pipe is dust collector port.It uses a knob below for the motor positioning. |
|
 |
 |
|
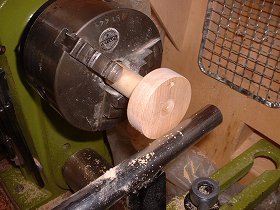
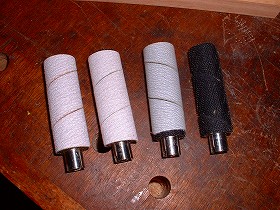
25.This is mandrel pipe of sanding dram. ø10*12mm. |
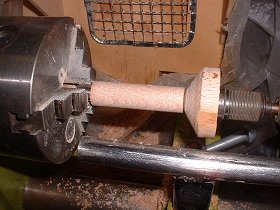
26.Turning of inserting mandrel in the timber. |
|
 |
 |
|
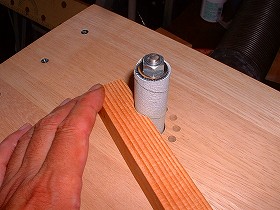
27.Gluing a magic tape to dram. |
28.Fix the sanding dram with the M8 nut. |
|
 |
||
Test run. It's a good. |
||
movie |
||