Works of wood turning [Page84] |
Lathe & Tool | |
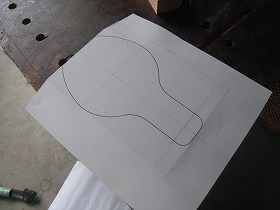
Jul. 12/2020 Squeezer Sudachi is a small, round, green citrus fruit that is a specialty of Tokushima. It is a sour citrus, not eaten as fruit, but used as food flavoring.This is tool to squeeze the Sudachi.Drawing |
 |
 |
|
1.The material used was Yakusugi-cedar given by a friend more than 10 years ago. Since it is a small block, it seems that it requires some ingenuity in cutting. |
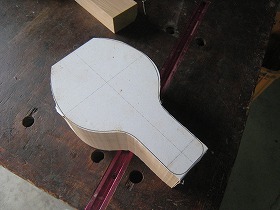
2.First, divide it into three parts for the body and legs. |
|
 |
 |
|
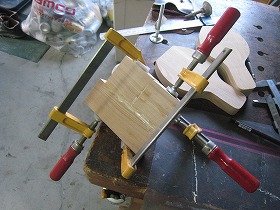
3.Print out the drawing at full scale and glue it with peelable spray glue. |
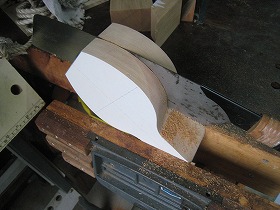
4.Cut with a band saw. |
|
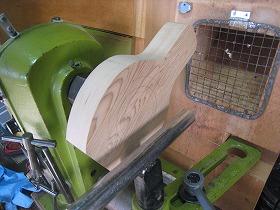
 |
 |
|
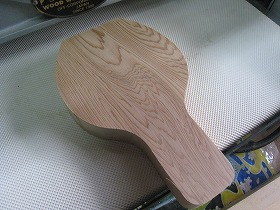
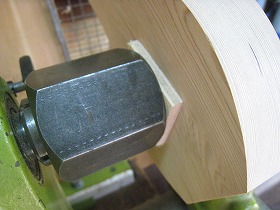
5.Grinding with homemade spindle sander. |
6.The position to divide into the main body and the lid is marked by a homemade pencil surface gage. |
|
 |
 |
|
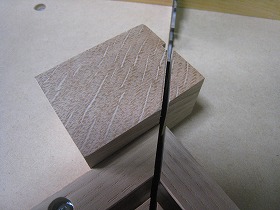
7.Cut with a hand saw. |
8.Grind the cut surface with a drum sander. |
|
 |
 |
|
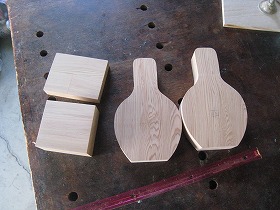
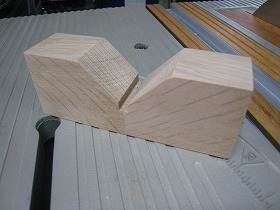
9.The leg part was not enough material, so it became a patch. The adhesive uses yellow glue to make it water resistant. |
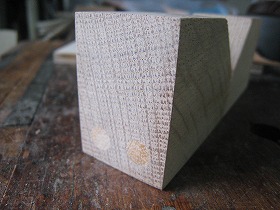
10.Three parts are completed. |
|
 |
 |
|
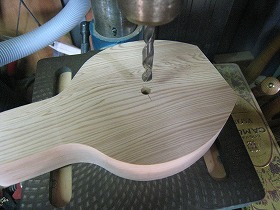
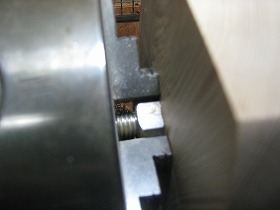
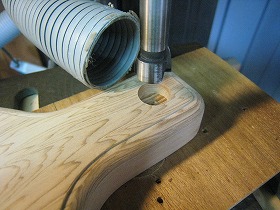
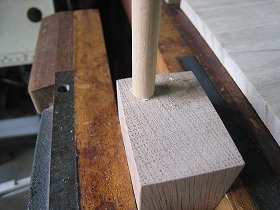
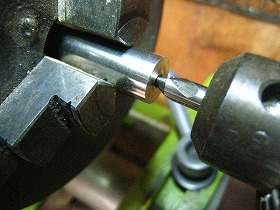
11.Prepared hole 7mm for mounting screw chuck. The depth was 15 mm so as not to penetrate. |
12.Since the screw part of the screw chuck is long and the screw comes out when turning, a spacer is inserted between the chuck and the work. The spacer is 50mm square and 6mm thick. The hole is 8mm. |
|
 |
 |
|
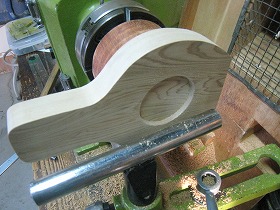
13.The work is screwed into the screw chuck. |
14.Mark turning points with a compass. |
|
 |
 |
|
15.Let's turning. |
16.Because it is eccentric, the rotation speed is limited to about 600 rpm. |
|
 |
 |
|
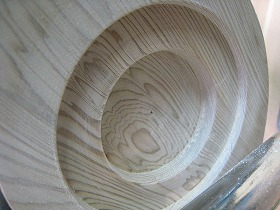
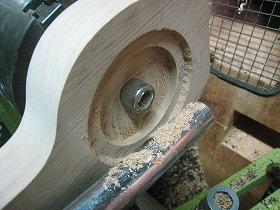
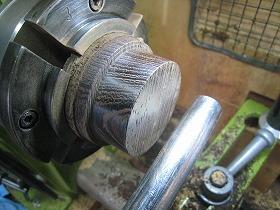
17.Turning completed. In the center, the tip of the pilot hole looks a little. |
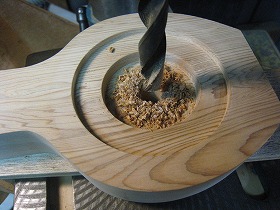
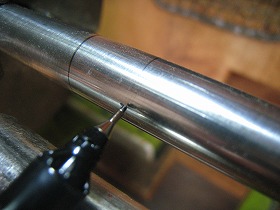
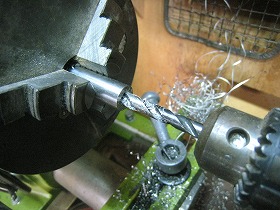
18.Drilling 12mm for SUS pipe to discharge juice. I will regret not checking the dimensions before drilling. |
|
 |
 |
|
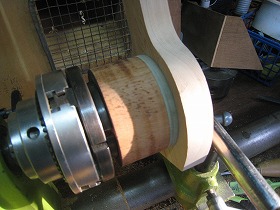
19.The lid was turned with a vacuum chuck. |
20.Turn down the speed and work carefully to complete turning. The center dent will insert plate made of hard material. |
|
 |
 |
|
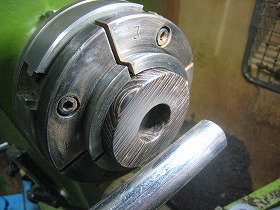
21.Here I checked the dimensions of the body and noticed a mistake. The counterbore part with a diameter of 60 mm had become 50 mm. Since the through hole is 12mm, the screw chuck can no longer be used. As a countermeasure, the main body was tightened with M12 bolts and gripped with a three-jaw chuck. |
22.The counterbore was successfully extended to 60mm. |
|
 |
 |
|
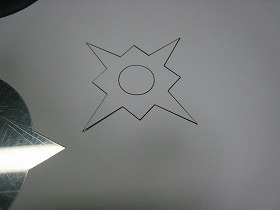
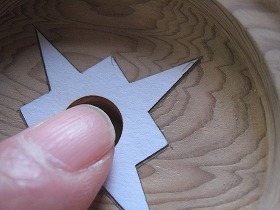
23.The groove processing through which the fruit juice of the main body flows is complicated, and it is troublesome to draw the rules, so I cut out the cardboard with a laser machine and made a template. This is for a groove with an inner diameter of 80mm.Template |
24.This is the template for the inner 60mm section. The center hole is for positioning. |
|
 |
 |
|
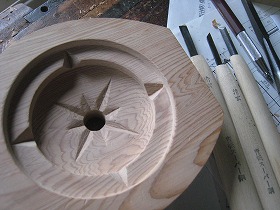
25.Marking of inner groove. |
26.Outer groove marking. |
|
 |
 |
|
27.Carve grooves with chisel. |
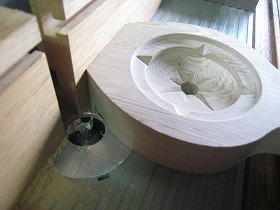
28.Cut off the dovetail for leg-1. Cutting the work peace fixed with clamp. |
|
 |
 |
|
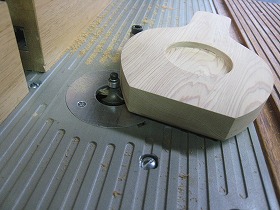
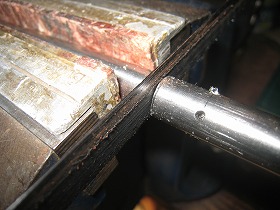
29.The bit used was a blade diameter of 12 mm and a shank of 6 mm. |
30.Cut the dovetail for leg-2. |
|
 |
 |
|
31.Cut the tenon on leg-2. |
32.Cut the tenon on leg-1. |
|
 |
 |
|
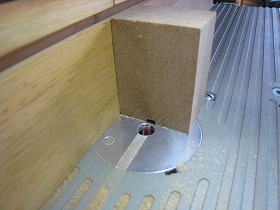
33.Chamfer the entire circumference of the lid with roundover bit. Use a start pin to prevent kickback. |
34.Drilling 15mm to attach the knob. |
|
 |
 |
|
35.Make a board that sticks to the inside of the lid with a ironwood. First, turning to 50 mm diameter. |
36.Cut off at a thickness of 16mm. |
|
 |
 |
|
37.Turn it upside down. |
38.Make the knob with ironwood. |
|
 |
 |
|
39.Make a wooden V-block. Iron V-blocks hurt the edge of the drill when the drill penetrates. First, the relief part in the center of the block is processed with a 6mm bit. |
40.Next, cut at 45 ° using a jig. |
|
 |
 |
|
41.Cut the other parts in the same way. |
42.When the two parts were glued together in the center, it looked like a V-block. |
|
 |
 |
|
43.There is a risk of cracking due to insufficient strength just by bonding. Reinforce with two 8mm round bars. Drill 8mm. |
44.Then hammer the round bar. |
|
 |
 |
|
45.Sanding. |
46.Making a SUS pipe to extract the juice. Hold a 12mm diameter round stick on a woodworking lathe. Then mark the holes and cuts. Using the index plate of the lathe to mark the 90-degree position. |
|
 |
 |
|
47.Drilling 3mm pilot hole. |
48.Cut to about 47mm in length. |
|
 |
 |
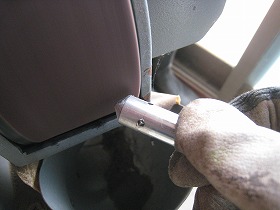
|
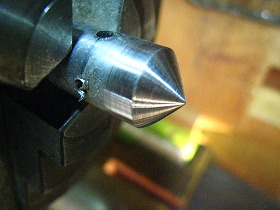
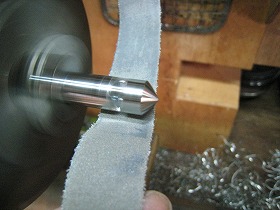
49.Sanding with a belt sander so that the tip is at 118 degrees. The final was finished with # 240 belt. |
50.It becomes a mirror surface when it is polished on a lathe. |
|
 |
 |
|
51.Center drill, the other side. |
52.Drilling 6mm. |
|
 |
 |
|
53.Drilling 5.5mm on a wooden V-block. |
54.Drilling 9mm. |
|
 |
 |
|
55.Polished with a # 240 file. |
56.This is SUS pipe for taking out fruit juice. |
|
 |
 |
|
57.Bevel the hinge mounting part of the main body and the lid so that the shaft of the hinge does not hit. |
58.Drilling a pilot hole with a hingedrill. |
|
 |
 |
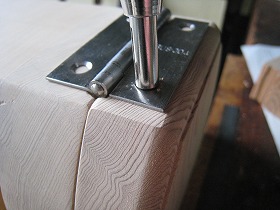
|
59.Hinges can be attached without slippage. |
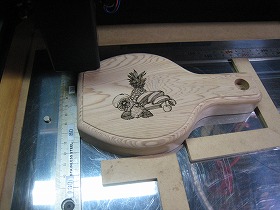
60.Illustrations of fruits were engraved on the lid with a laser machine. This is my first time processing a vector, but I was able to print it just like a photograph. After watch the video. |
|
 |
 |
|
61.Painted with "Kigatame ace". |
62.Adhere the SUS pipe to the body with a two-part epoxy adhesive. |
|
 |
 |
|
63.Juice falls down through this pipe hole. |
64.Also make a pot to receive the juice. The material is scrap wood of ironwood. |
|
 |
 |
|
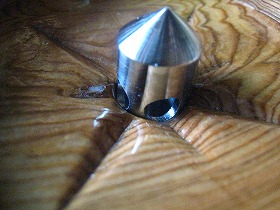
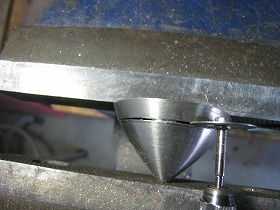
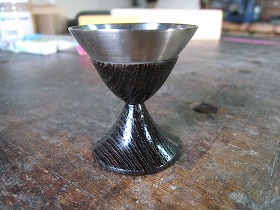
65.The pot dish used a junk conical cup. Cut off with a diamond cutter. |
66.It was able to cut it. |
|
 |
 |
|
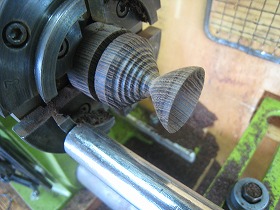
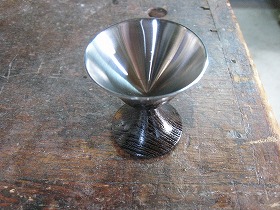
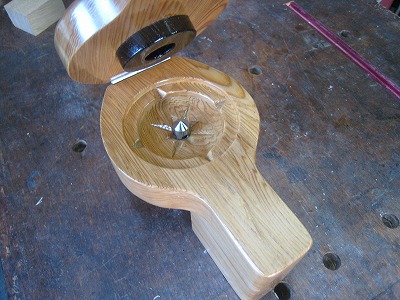
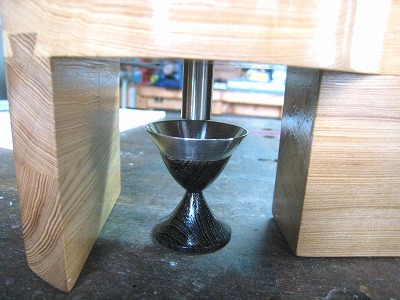
67.Glue a base and cup with press the tailstock. |
68.The cup became a mirror. |
|
 |
 |
|
69.Did it look good? |
70.It will filled 2-3 juices of Sudachi. |
|
 |
||
It is completed by connecting the body and lid with a hinge. |
||
 |
||
With the lid open. |
||
 |
||
Juice outlet. |
||